Creating and Importing Files
In addition to previewing various file types, TagSpaces also allows you to create new files in several text-based formats, making it a great note-taking application.
To create a new file in TagSpaces, you have several options. The easiest way is to click the plus icon button, which is almost always visible in the application.
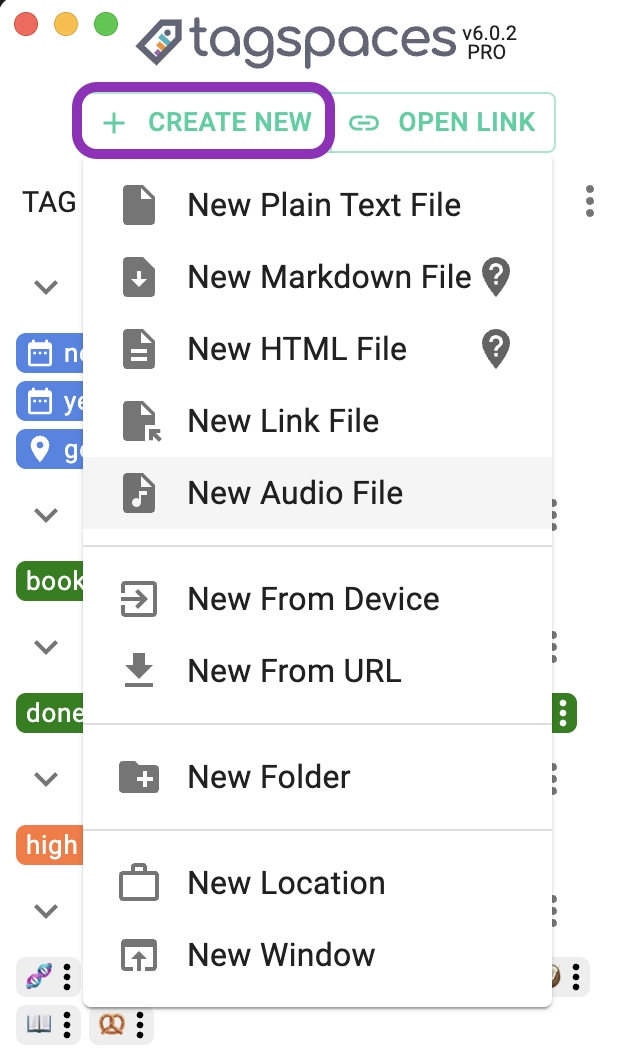
This opens the content creation menu, where you can choose from the actions described below.
Timestamp as Default Tag
When you create a new file in TagSpaces, a timestamp in the format YYYYMMDDThhmmss is automatically added as a tag:
YYYY: The current yearMM: The current monthDD: The current dayT: A delimiter between the date and timehh: The hourmm: The minutess: The second
For example, a file created on January 17, 2017, at 10:30:32 would have the timestamp tag 20170117T103032.
These timestamp tags ensure the uniqueness of automatically generated file names.
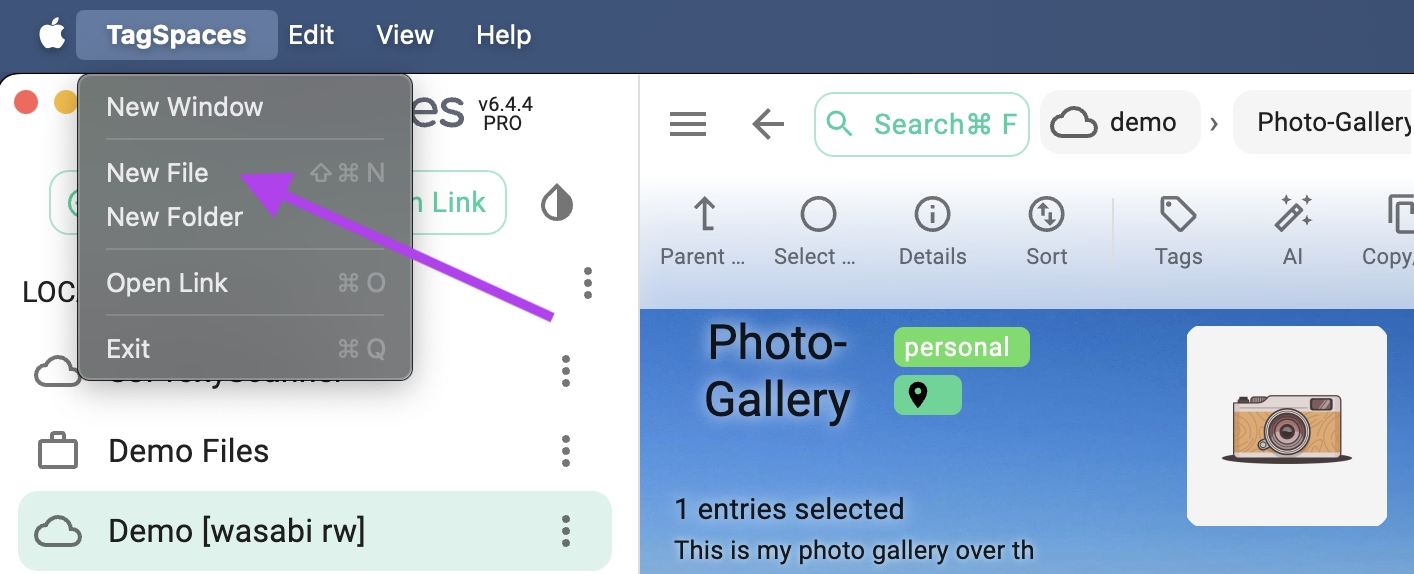
Creating files in the desktop app
On the desktop version of the app, you can open the Main Menu (by pressing ALT on Windows or Linux) and then select New File from the File menu.
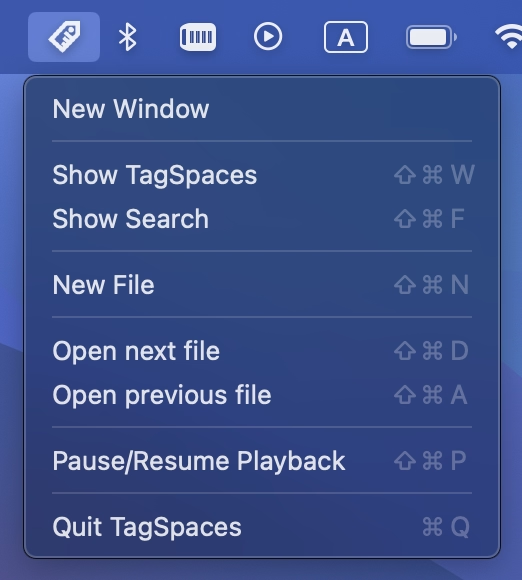
In the tray menu there is also an entry called New file which will open the dialog for creating new markdown files.
New Plain Text File
Creates a plain text file with the .txt extension.
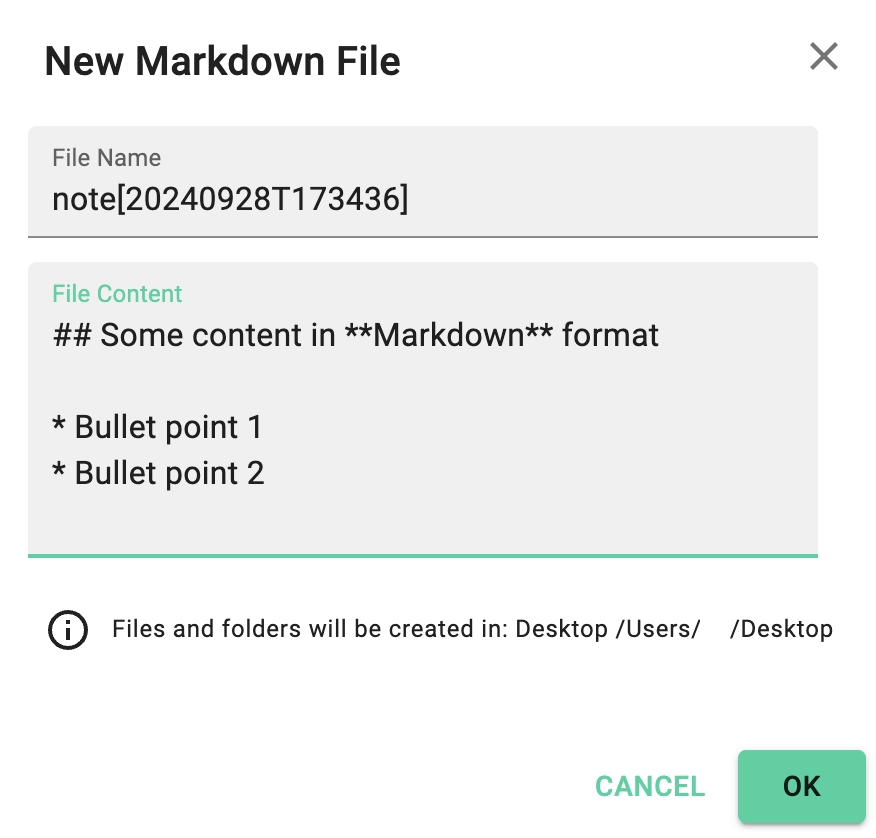
New Markdown File
Creates a text file with the .md extension, which will allow you to add content in Markdown format.
New HTML File
Creates an HTML file with the .html extension, allowing you to add rich text content.
At the top of the file creation dialogs, the automatically generated file name is displayed. The text is preselected, so you can easily change it to whatever you need. This is especially useful when creating new cards in the Kanban perspective. Below the text field, you will see the path where the file will be created. The default path is usually the current folder, but if no location is open, the file will be created in the root folder of the first location in your location manager.
The file name follows this format: note[20191113T164613].md (or .html or .txt). The default file name includes a timestamp tag, which is explained bellow.
New Link File
Creates a URL file containing a link to a website. These files are supported natively on macOS and Windows. They are suitable for creating bookmarks.
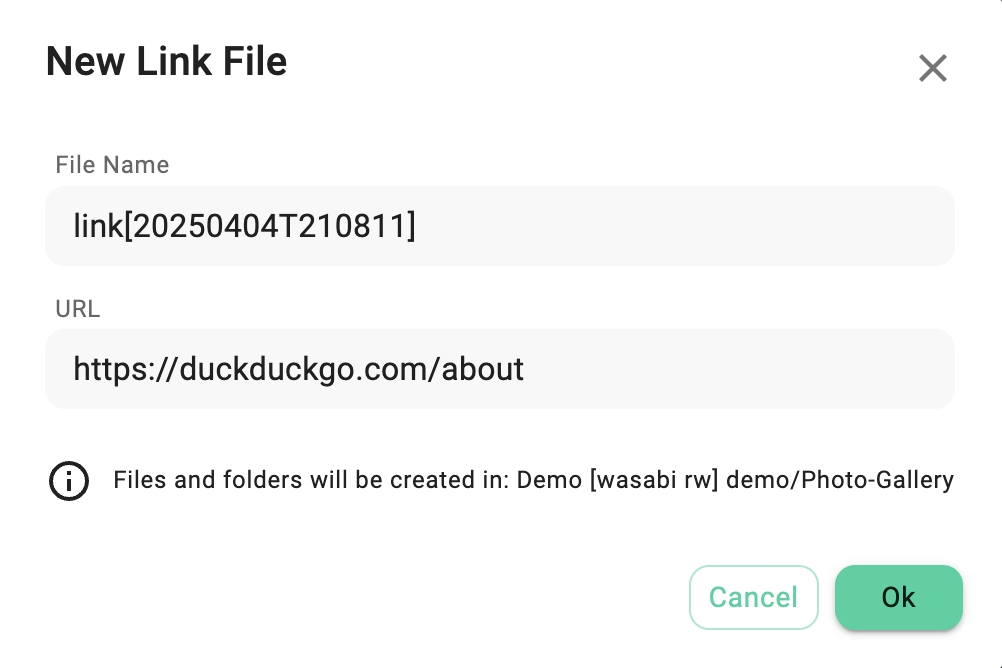
The created link files can be then opened in TagSpaces with the URL Viewer extension.
New Audio File
PRO
Opens a dialog where you can record an audio note.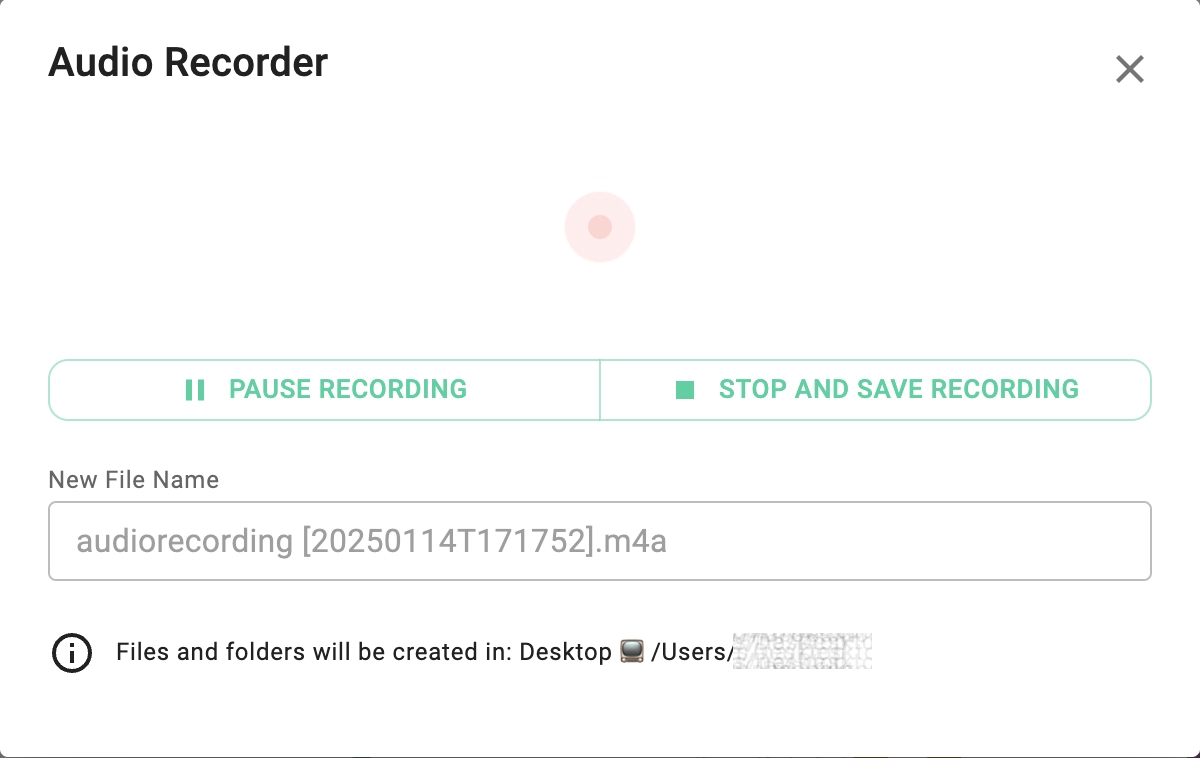
The recorded audio files can be played in TagSpaces with the Media Player extension.
New From Template
PRO
Opens a dialog where you can create files from different templates.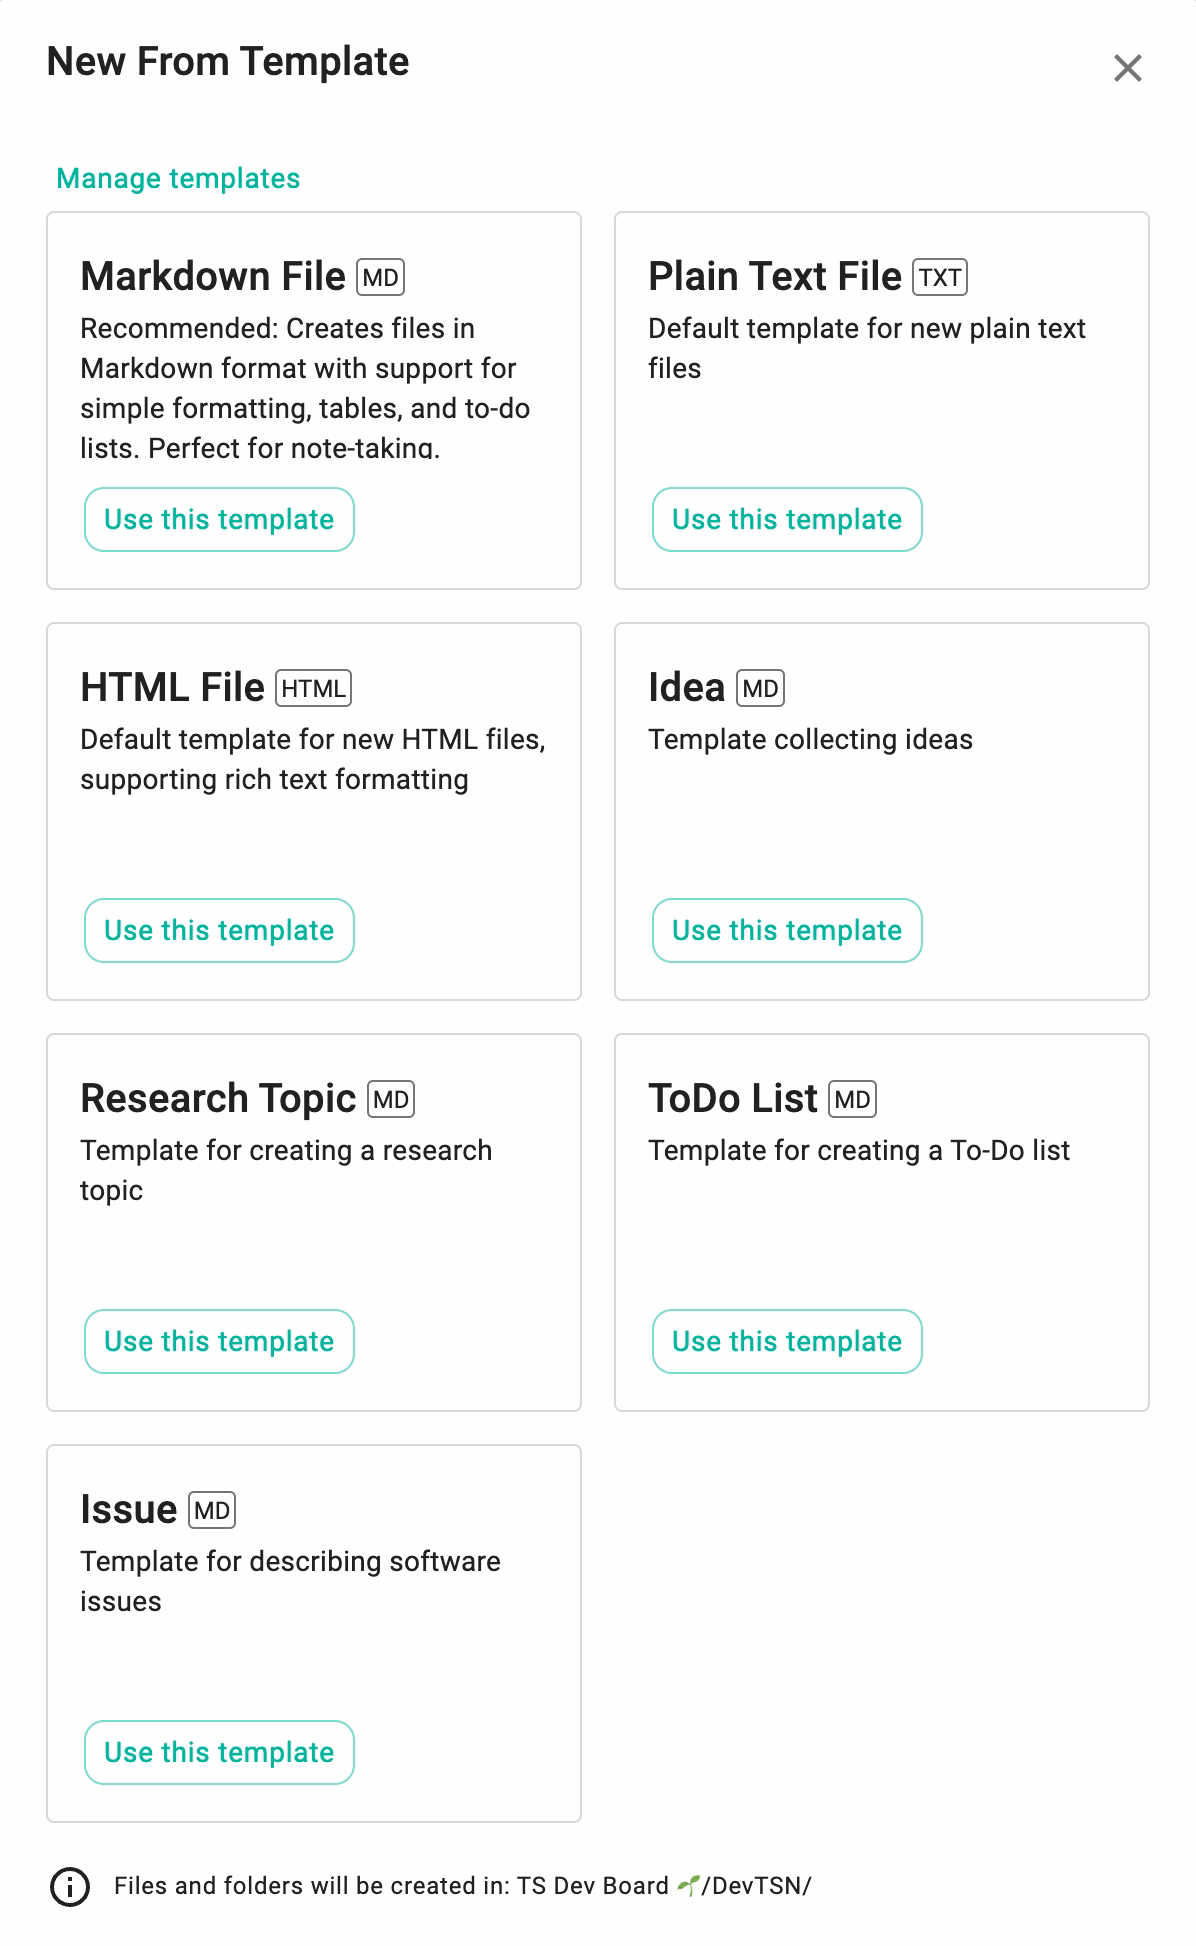
The file template are completely customizable in the settings of the application. Just click the Manage templates button in the top of the dialog to open the file templates tab in the settings.
New Form Device
Allows you to import files into the app. See the Importing Files section for more details.
New From URL
Opens a dialog where you can enter a URL in the text field and click the OK button to start the download and save the file in the current folder.
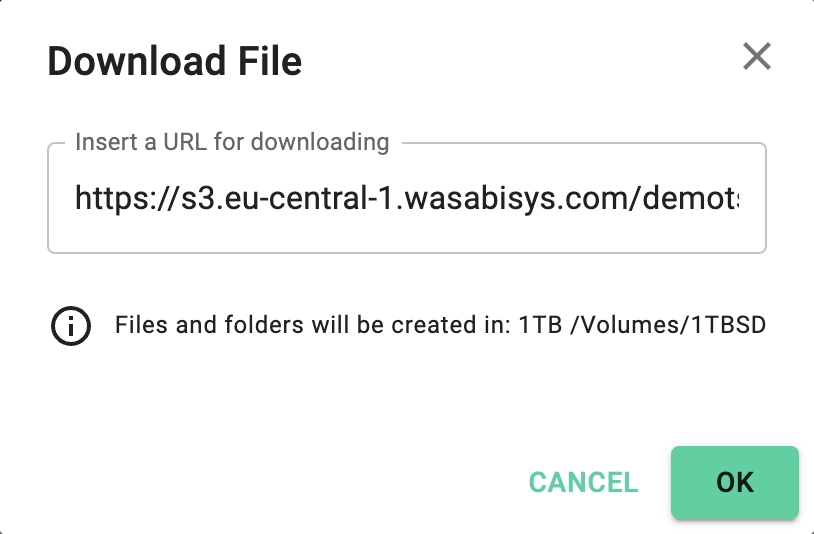
Downloading files from URLs generally works for files shared from object stores, but often fails due to CORS restrictions implemented by websites. As a workaround, you can use our browser extension.
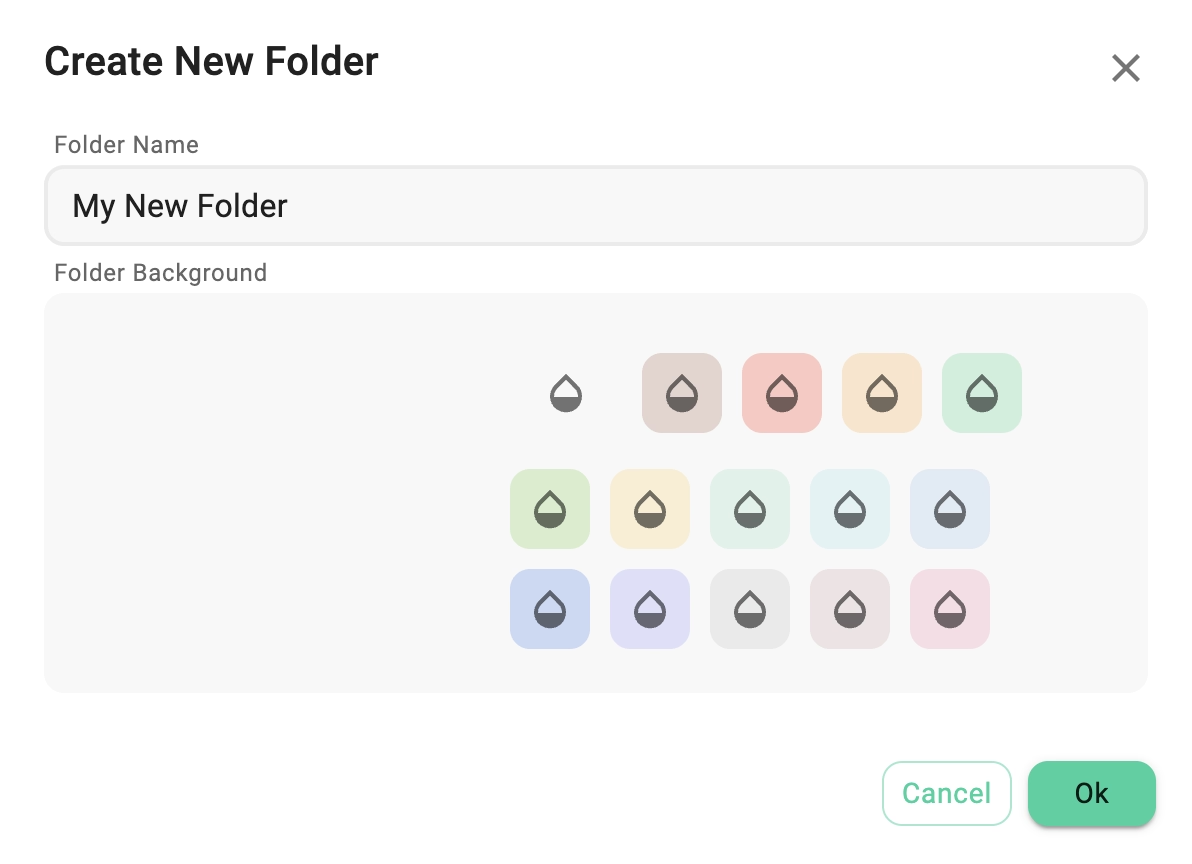
New Folder
Opens the dialog for creating new folders, where beside the name you can choose also the folder's background color.
Importing Files
TagSpaces offers several ways to import files. After a successful import, the file will be copied to the currently open folder.
Importing from the Folder Menu
You can also import files from the folder menu, located in the top-right corner of the application.
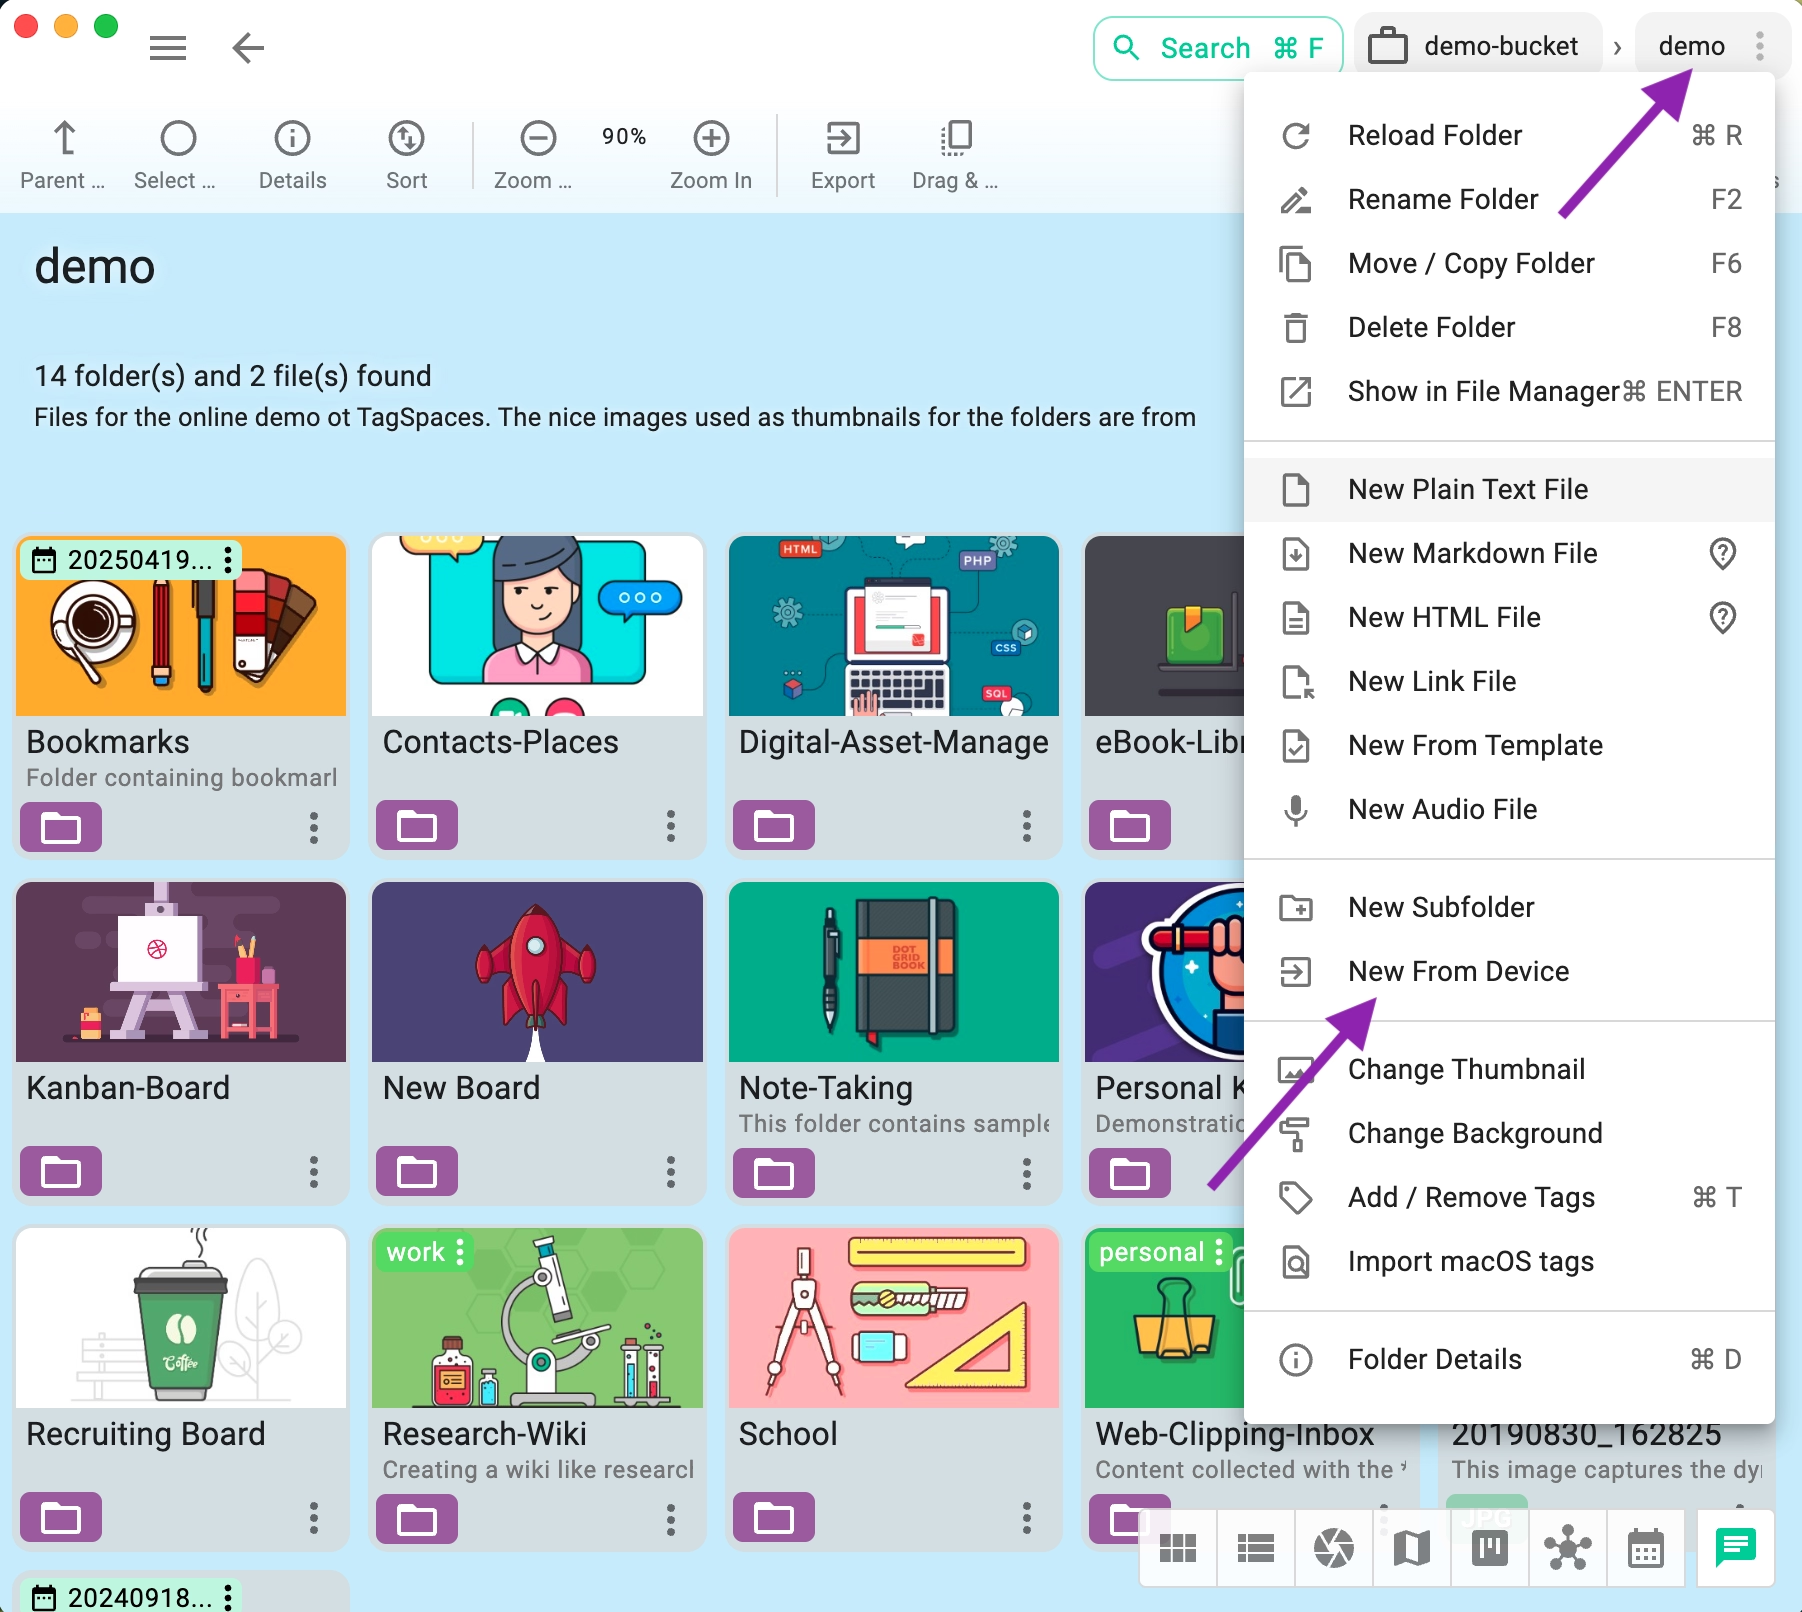
Choose New From Device to open your operating system's file chooser. From there, select the files you want to import.
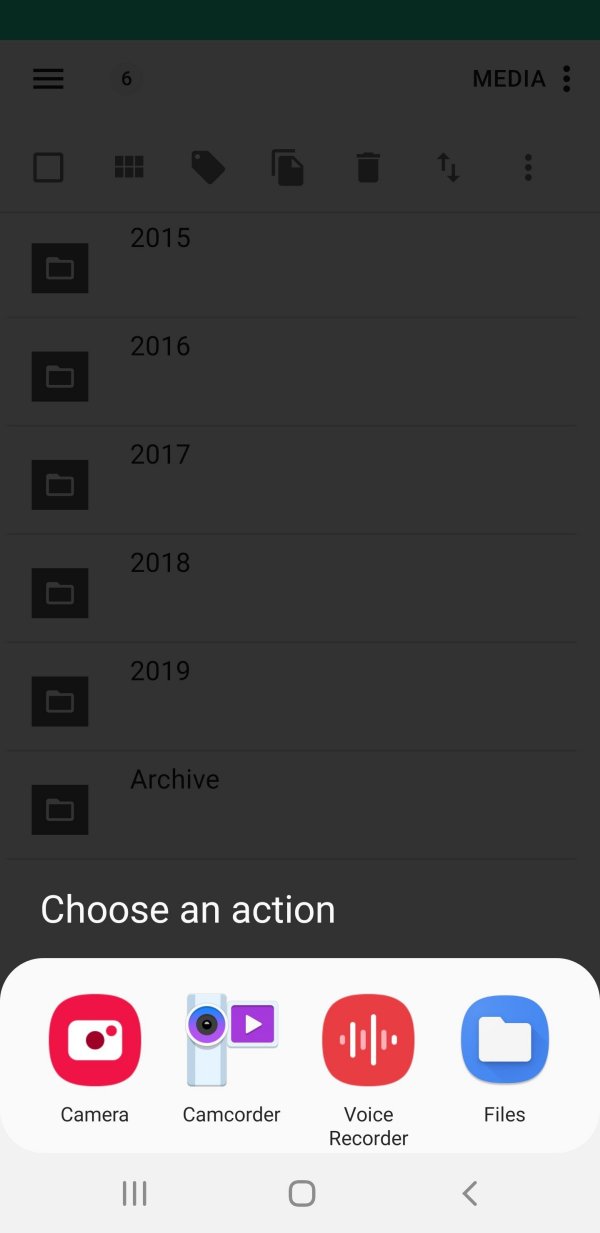
Importing Files on Mobile Devices
On mobile devices, tapping the New From Device menu opens a dialog that lets you choose various sources for files. In the following screenshot from an Android device, you can see options like:
- Camera: Opens the Camera app to take a picture and import it into the current location.
- Camcorder: Allows you to record a video that can be imported into the app.
- Voice Recorder: Launches the Voice Recorder app to create an audio note that can be imported.
- Files: Opens the Files app to select files for import.
Depending on your Android device and installed apps, this dialog may display more or fewer options.
On iOS, you have the options to take a picture with the Camera app or select one or more files from the Files app.
If the current folder is located on object storage (e.g., AWS S3), importing will trigger the file's upload to the S3 bucket.
Importing via Drag and Drop
You can also import files by dragging them from your desktop or file manager and dropping them into the app.
If the current folder is located on object storage (e.g., AWS S3), dragging and dropping files will trigger their upload to the S3 bucket.