Use custom map tile services in TagSpaces Pro
TagSpaces uses the free OpenStreetMap service as its default map provider. It works well for most use cases, but as a free service, it cannot guarantee uptime or handle heavy request volumes. Depending on how much you rely on maps in TagSpaces, it may make sense to configure an alternative map tile server.
This tutorial covers two options:
- MapTiler — a reliable hosted service with many map themes and a free plan
- Self-hosted OpenStreetMap — running your own tile server for full control and offline use
Step 1 - Create a MapTiler account
Go to the MapTiler Cloud pricing page and sign up for an account. The free plan is sufficient for regular, non-heavy usage.
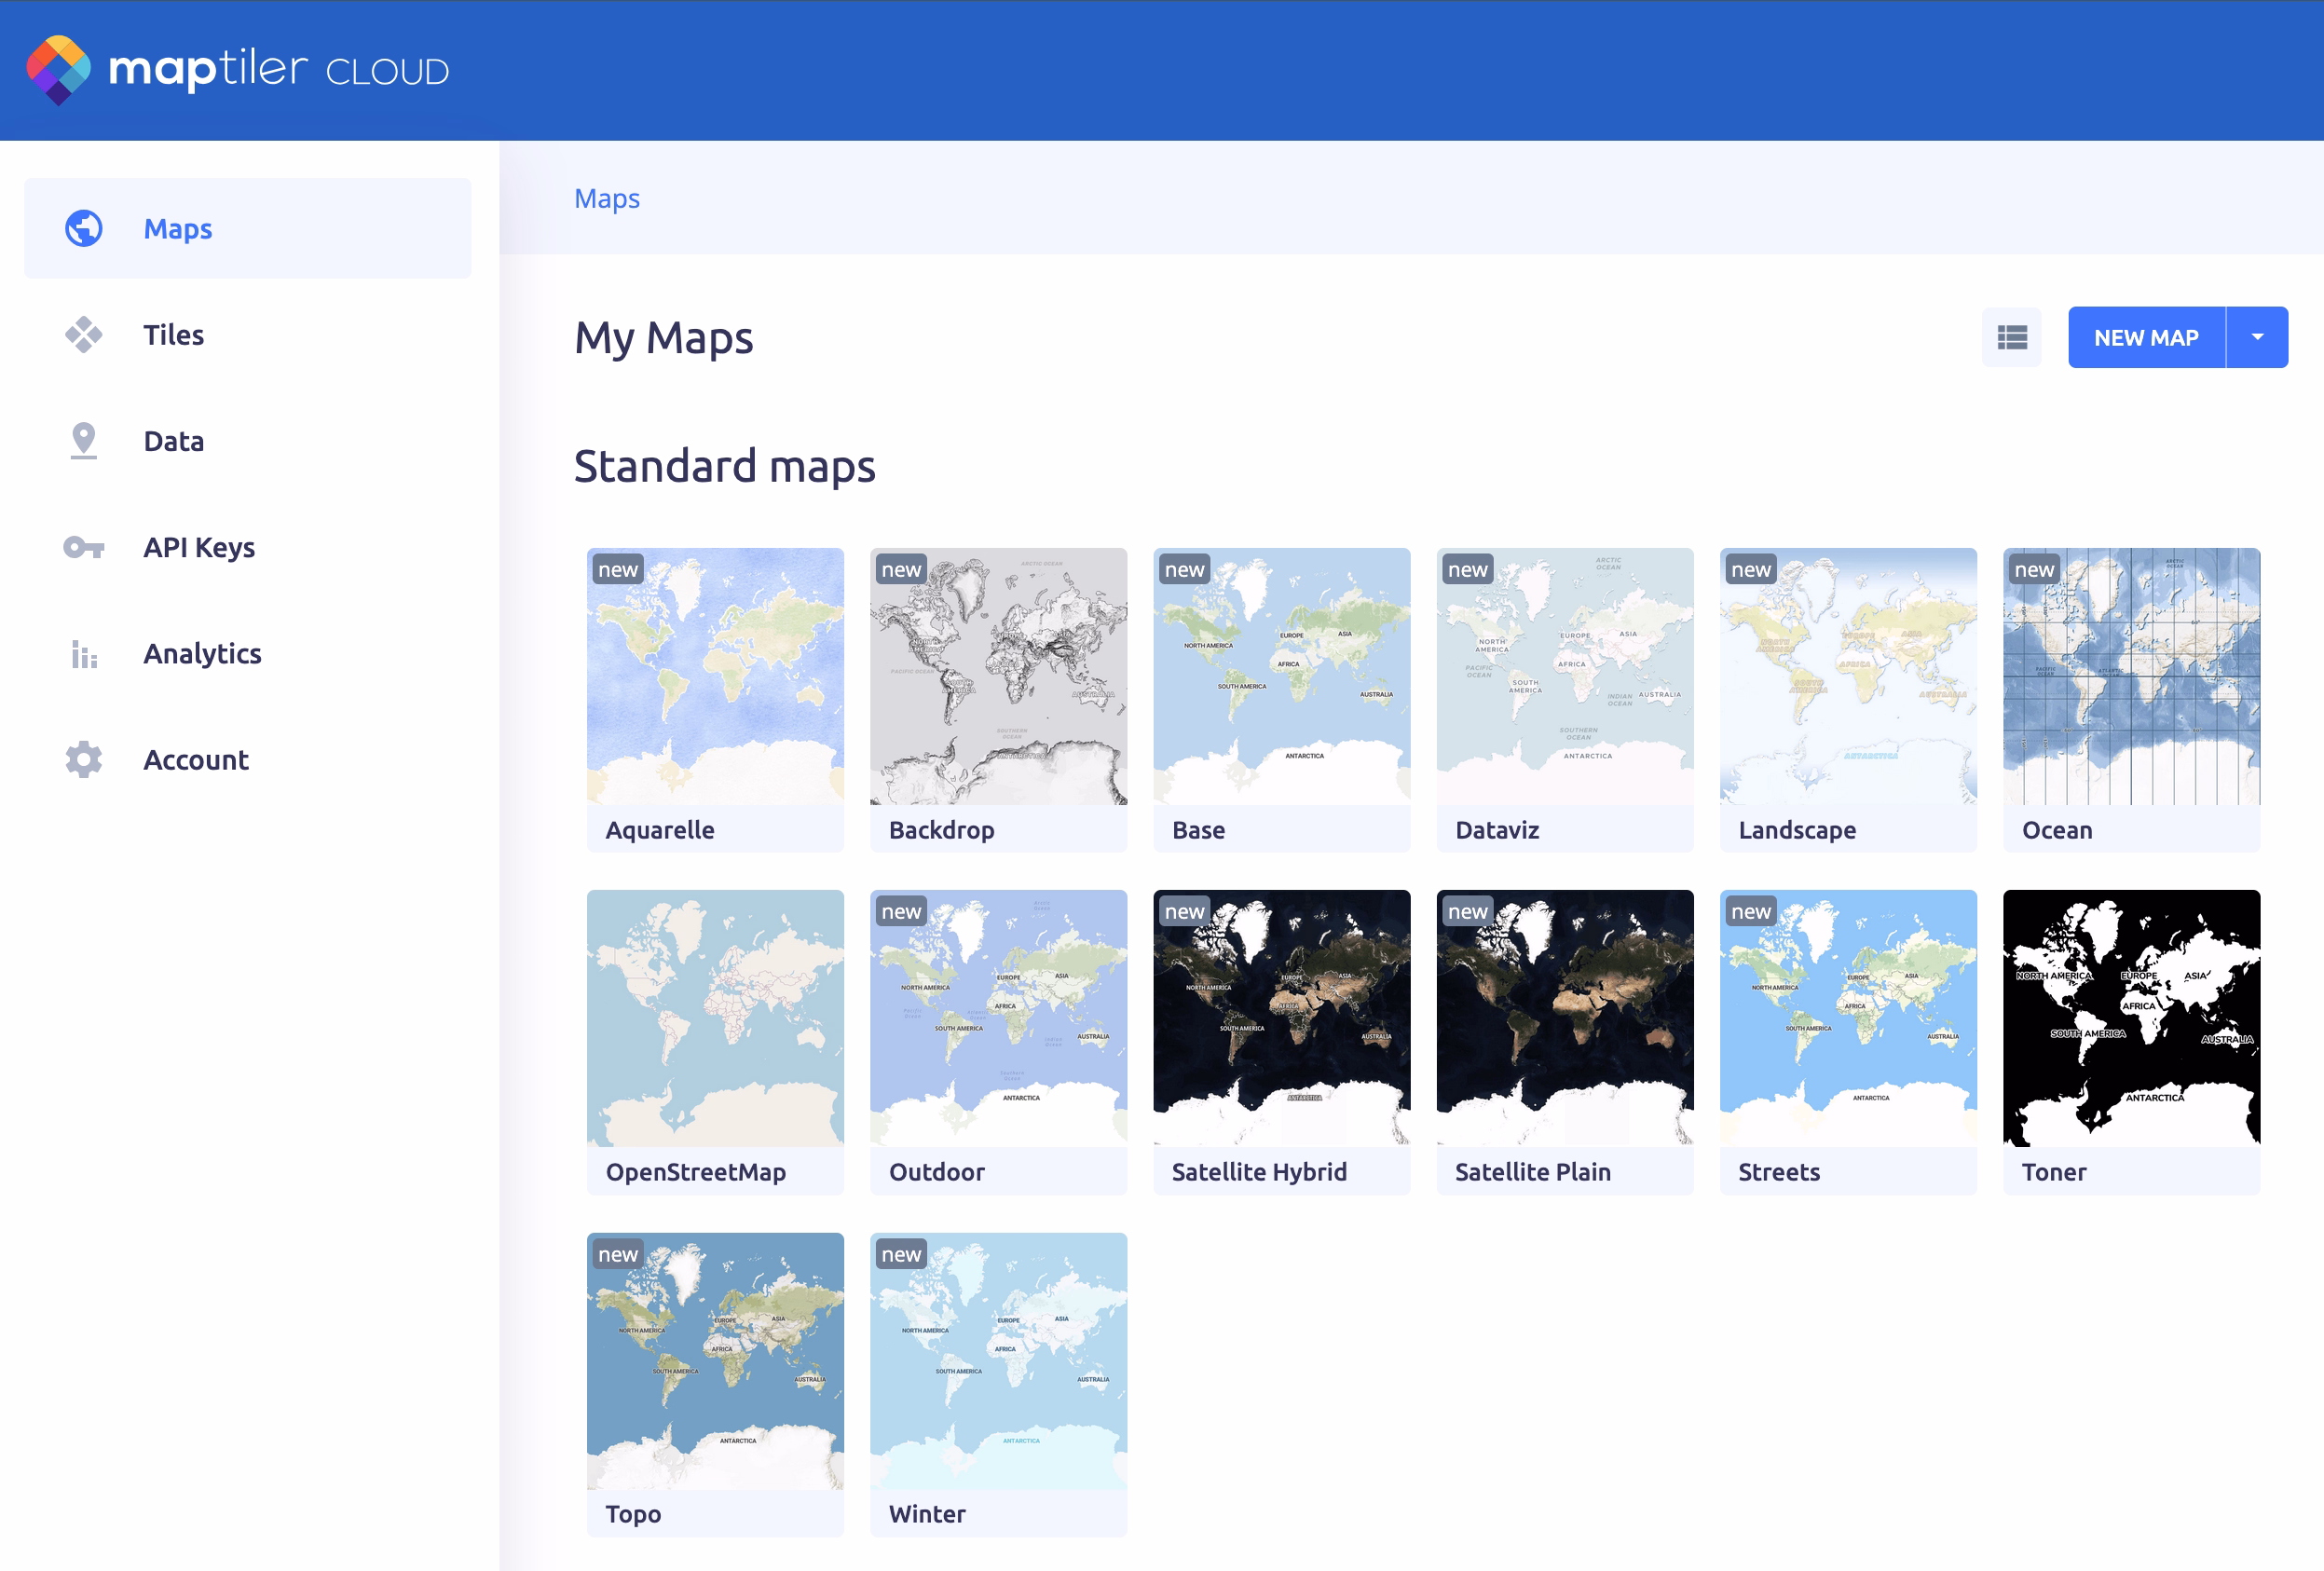
After signing up you will see an overview of the available maps.
Step 2 - Copy the tile server URL
Choose the map style you want to use. Navigate to the Raster Tiles section of the map and copy the tile URL using the button highlighted in the screenshot below.
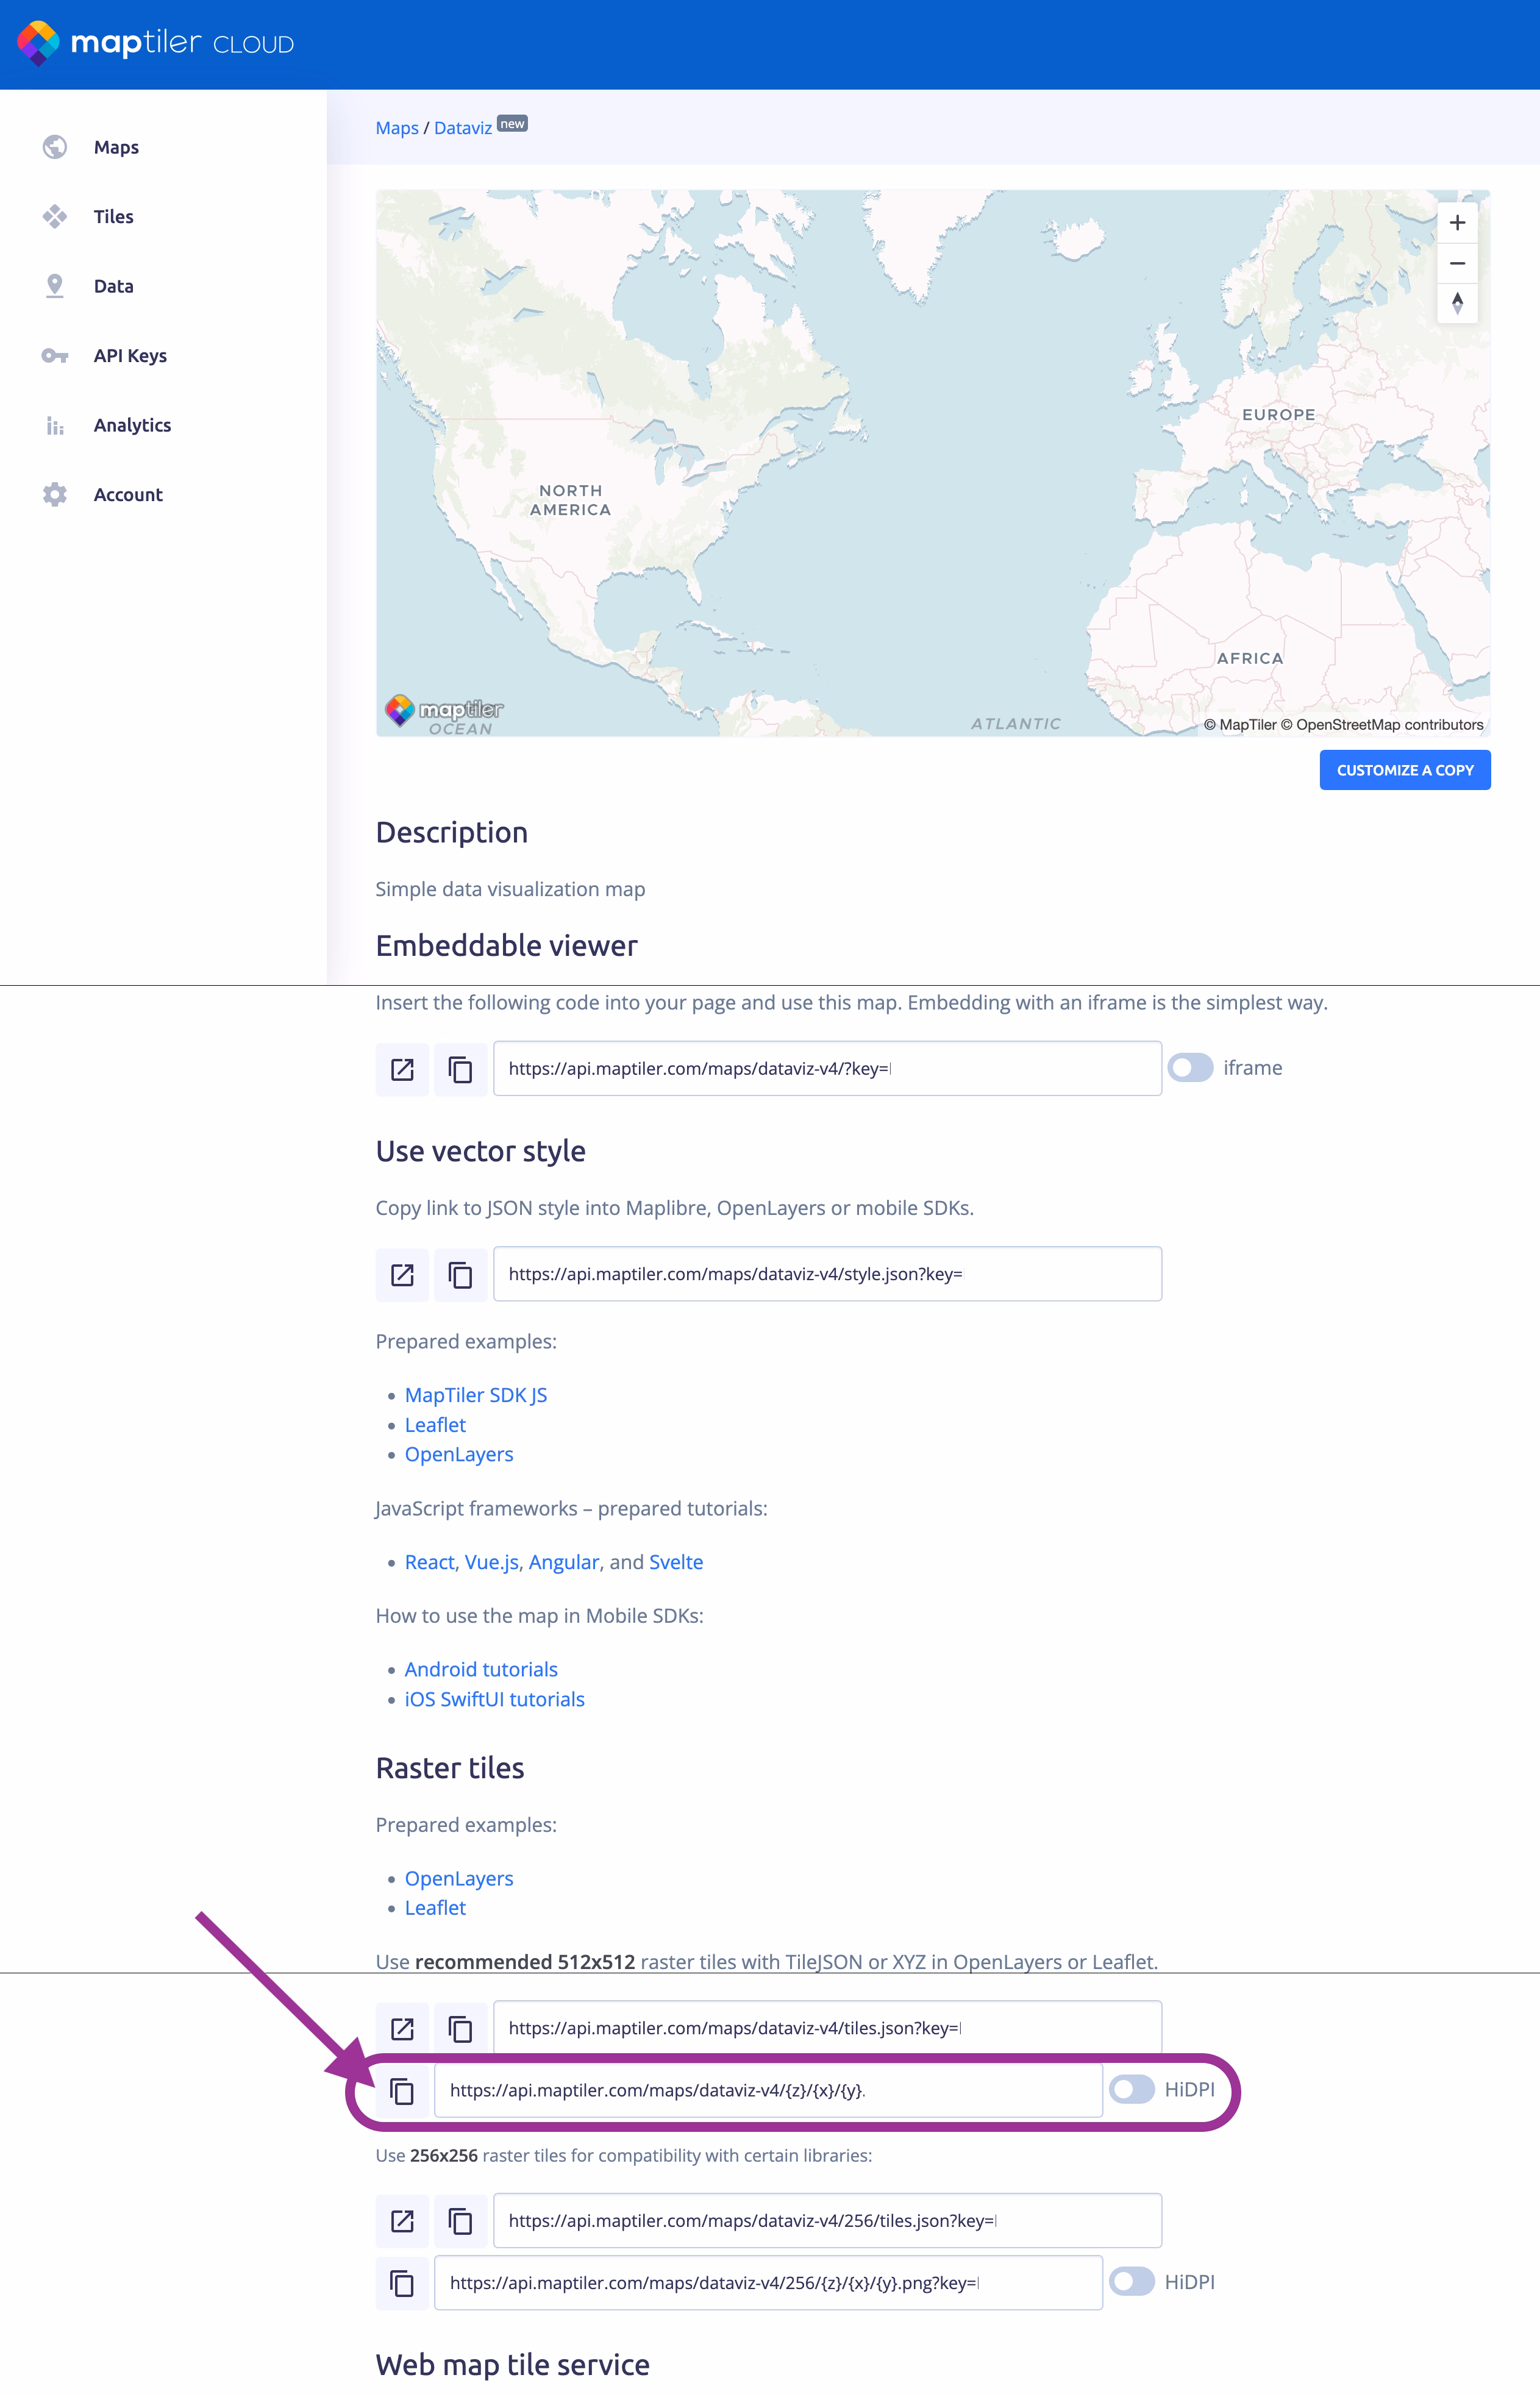
The copied URL will look something like this:
https://api.maptiler.com/maps/streets/{z}/{x}/{y}.png?key=YOUR_API_KEY
Keep this URL handy — you will paste it into TagSpaces in the next step.
Step 3 - Add the tile server in TagSpaces
Open the TagSpaces Settings and navigate to the Advanced tab. In the Map Tile Servers section, click the Add map tile server button.

In the dialog that opens, fill in the following fields:
- Name — a display name for this tile server (e.g.
MapTiler Streets) - URL — paste the URL copied from MapTiler
- Attribution — the copyright text required by the map provider (e.g.
© MapTiler © OpenStreetMap contributors) - Set as default — enable this if you want this server to be used automatically when opening the Mapique perspective
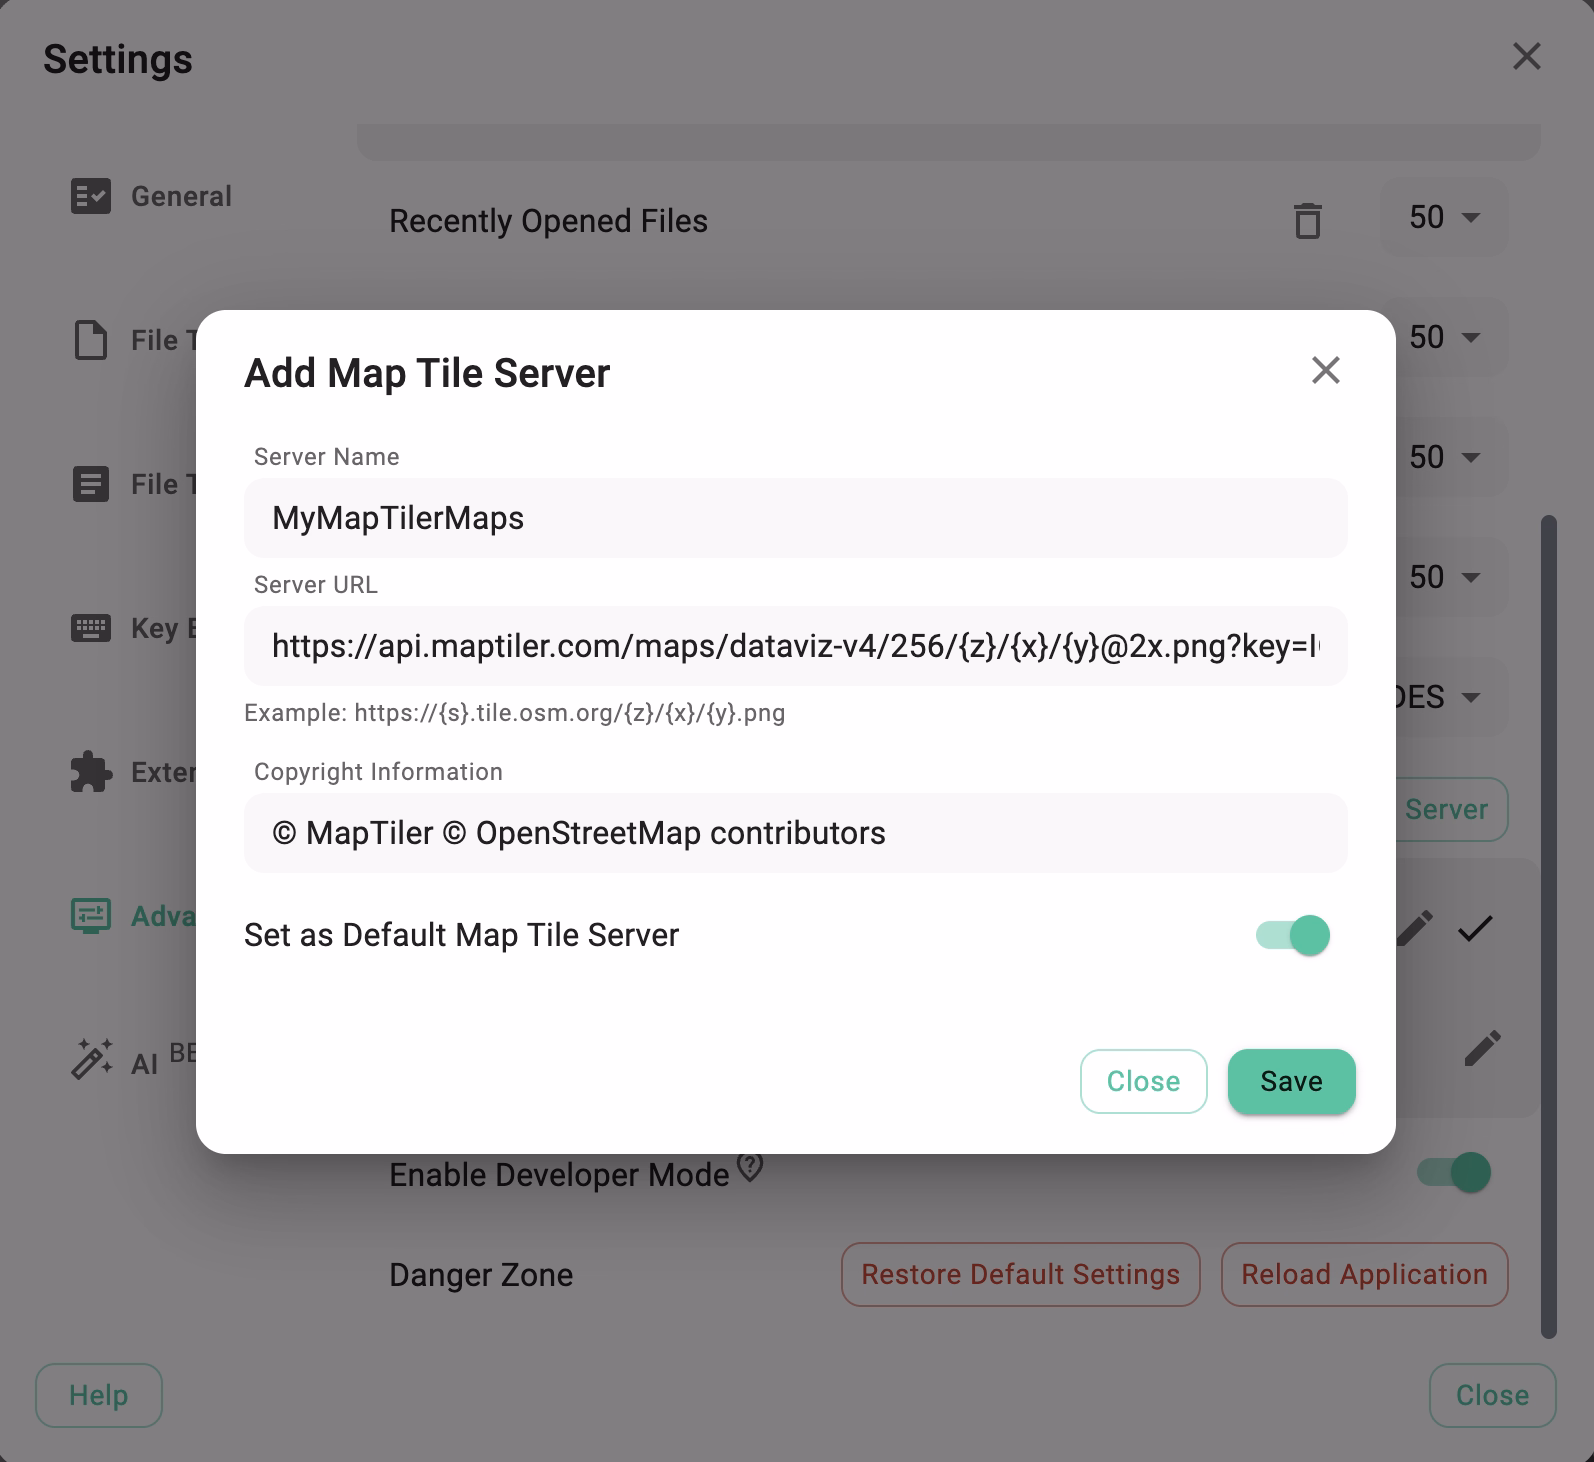
Click Save to apply the configuration.
Step 4 - Verify in the Mapique perspective
Open any folder containing geo-tagged files and switch to the Mapique perspective. The map should now render using your newly configured tile server.
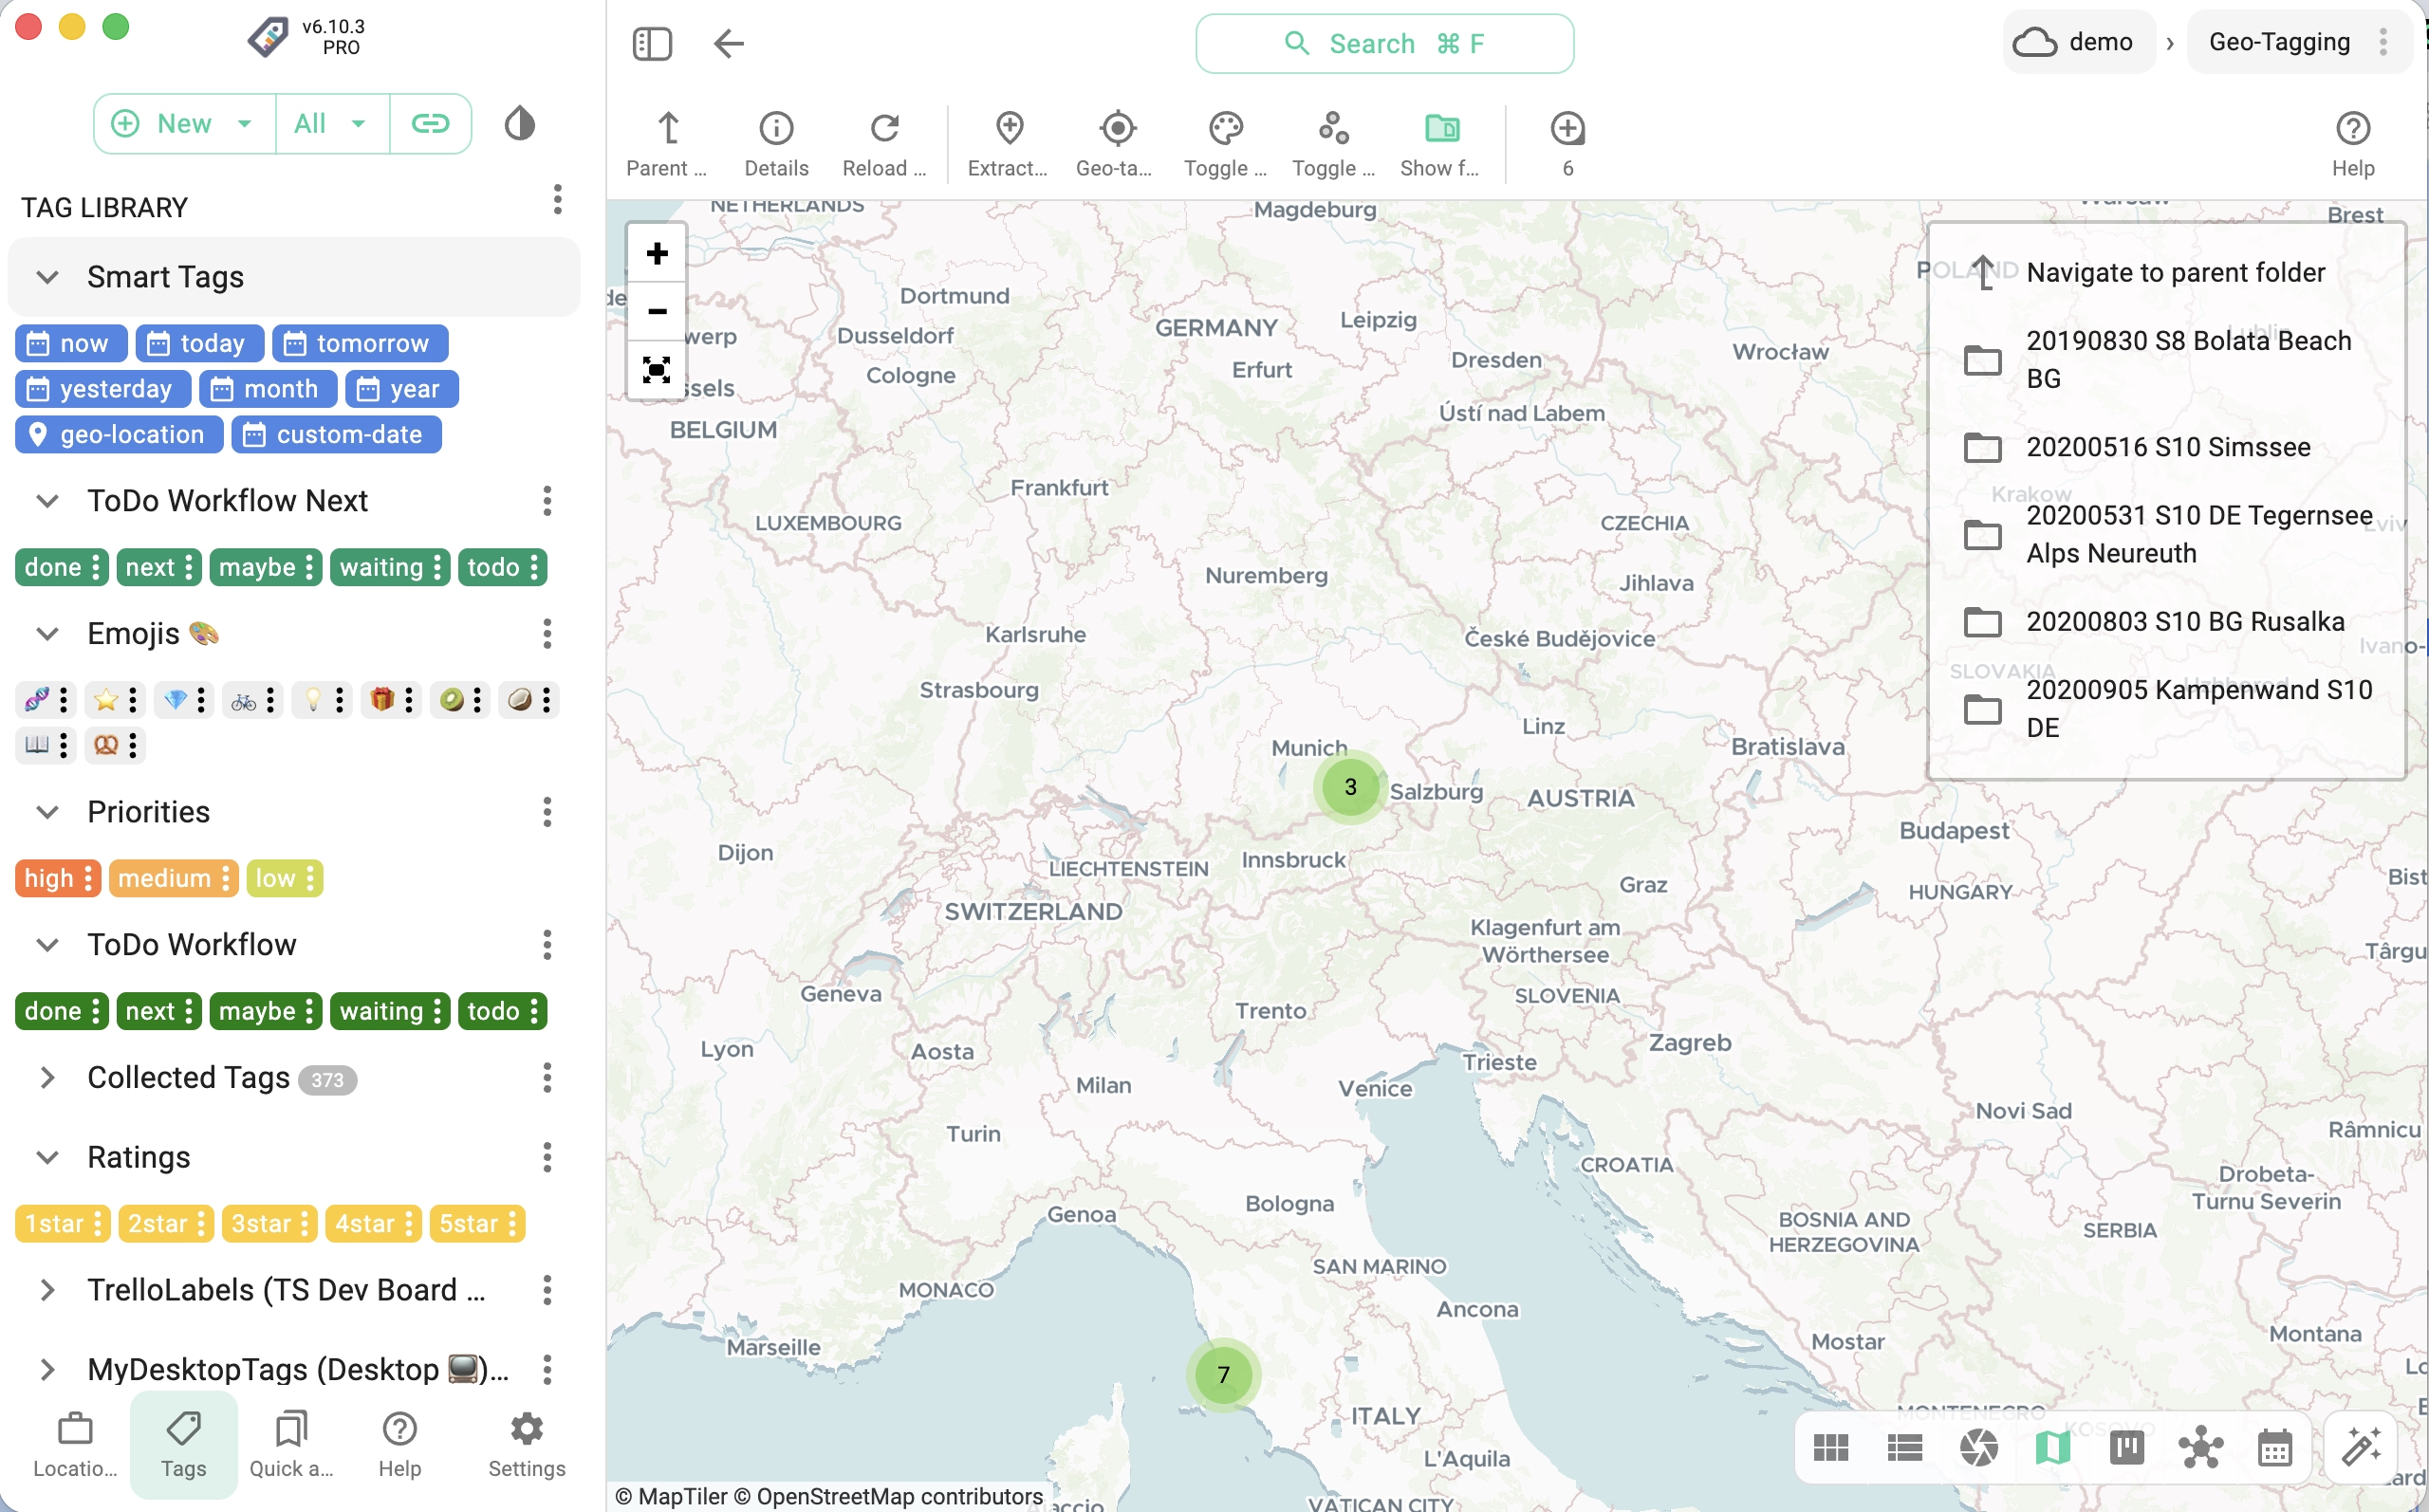
You can add multiple tile servers and switch between them in the Mapique perspective without going back to Settings.
Self-hosting a map tile server
If you need offline map access or want full control over your map data, you can run your own OpenStreetMap-compatible tile server using Docker.
The openstreetmap-tile-server Docker image provides a ready-to-use setup. Map data for your region can be downloaded from Geofabrik in the standard .osm.pbf format.
Once your self-hosted server is running, add its local URL in TagSpaces Settings exactly as described in Step 3 above (e.g. http://localhost:8080/tile/{z}/{x}/{y}.png).
Other resources
- openstreetmap-tile-server on Docker Hub — pre-built Docker image
- Geofabrik downloads — regional OpenStreetMap data exports
- Self Hosting a Google Maps Alternative with OpenStreetMap — a deep dive into self-hosting OpenStreetMap
- OpenStreetMap Wiki — Raster tile providers — list of compatible public tile services