Getting Started with TagSpaces
Welcome to TagSpaces, your privacy-friendly file manager and organizer.
This guide will help you get started quickly after downloading and installing the app.
Launching for the First Time
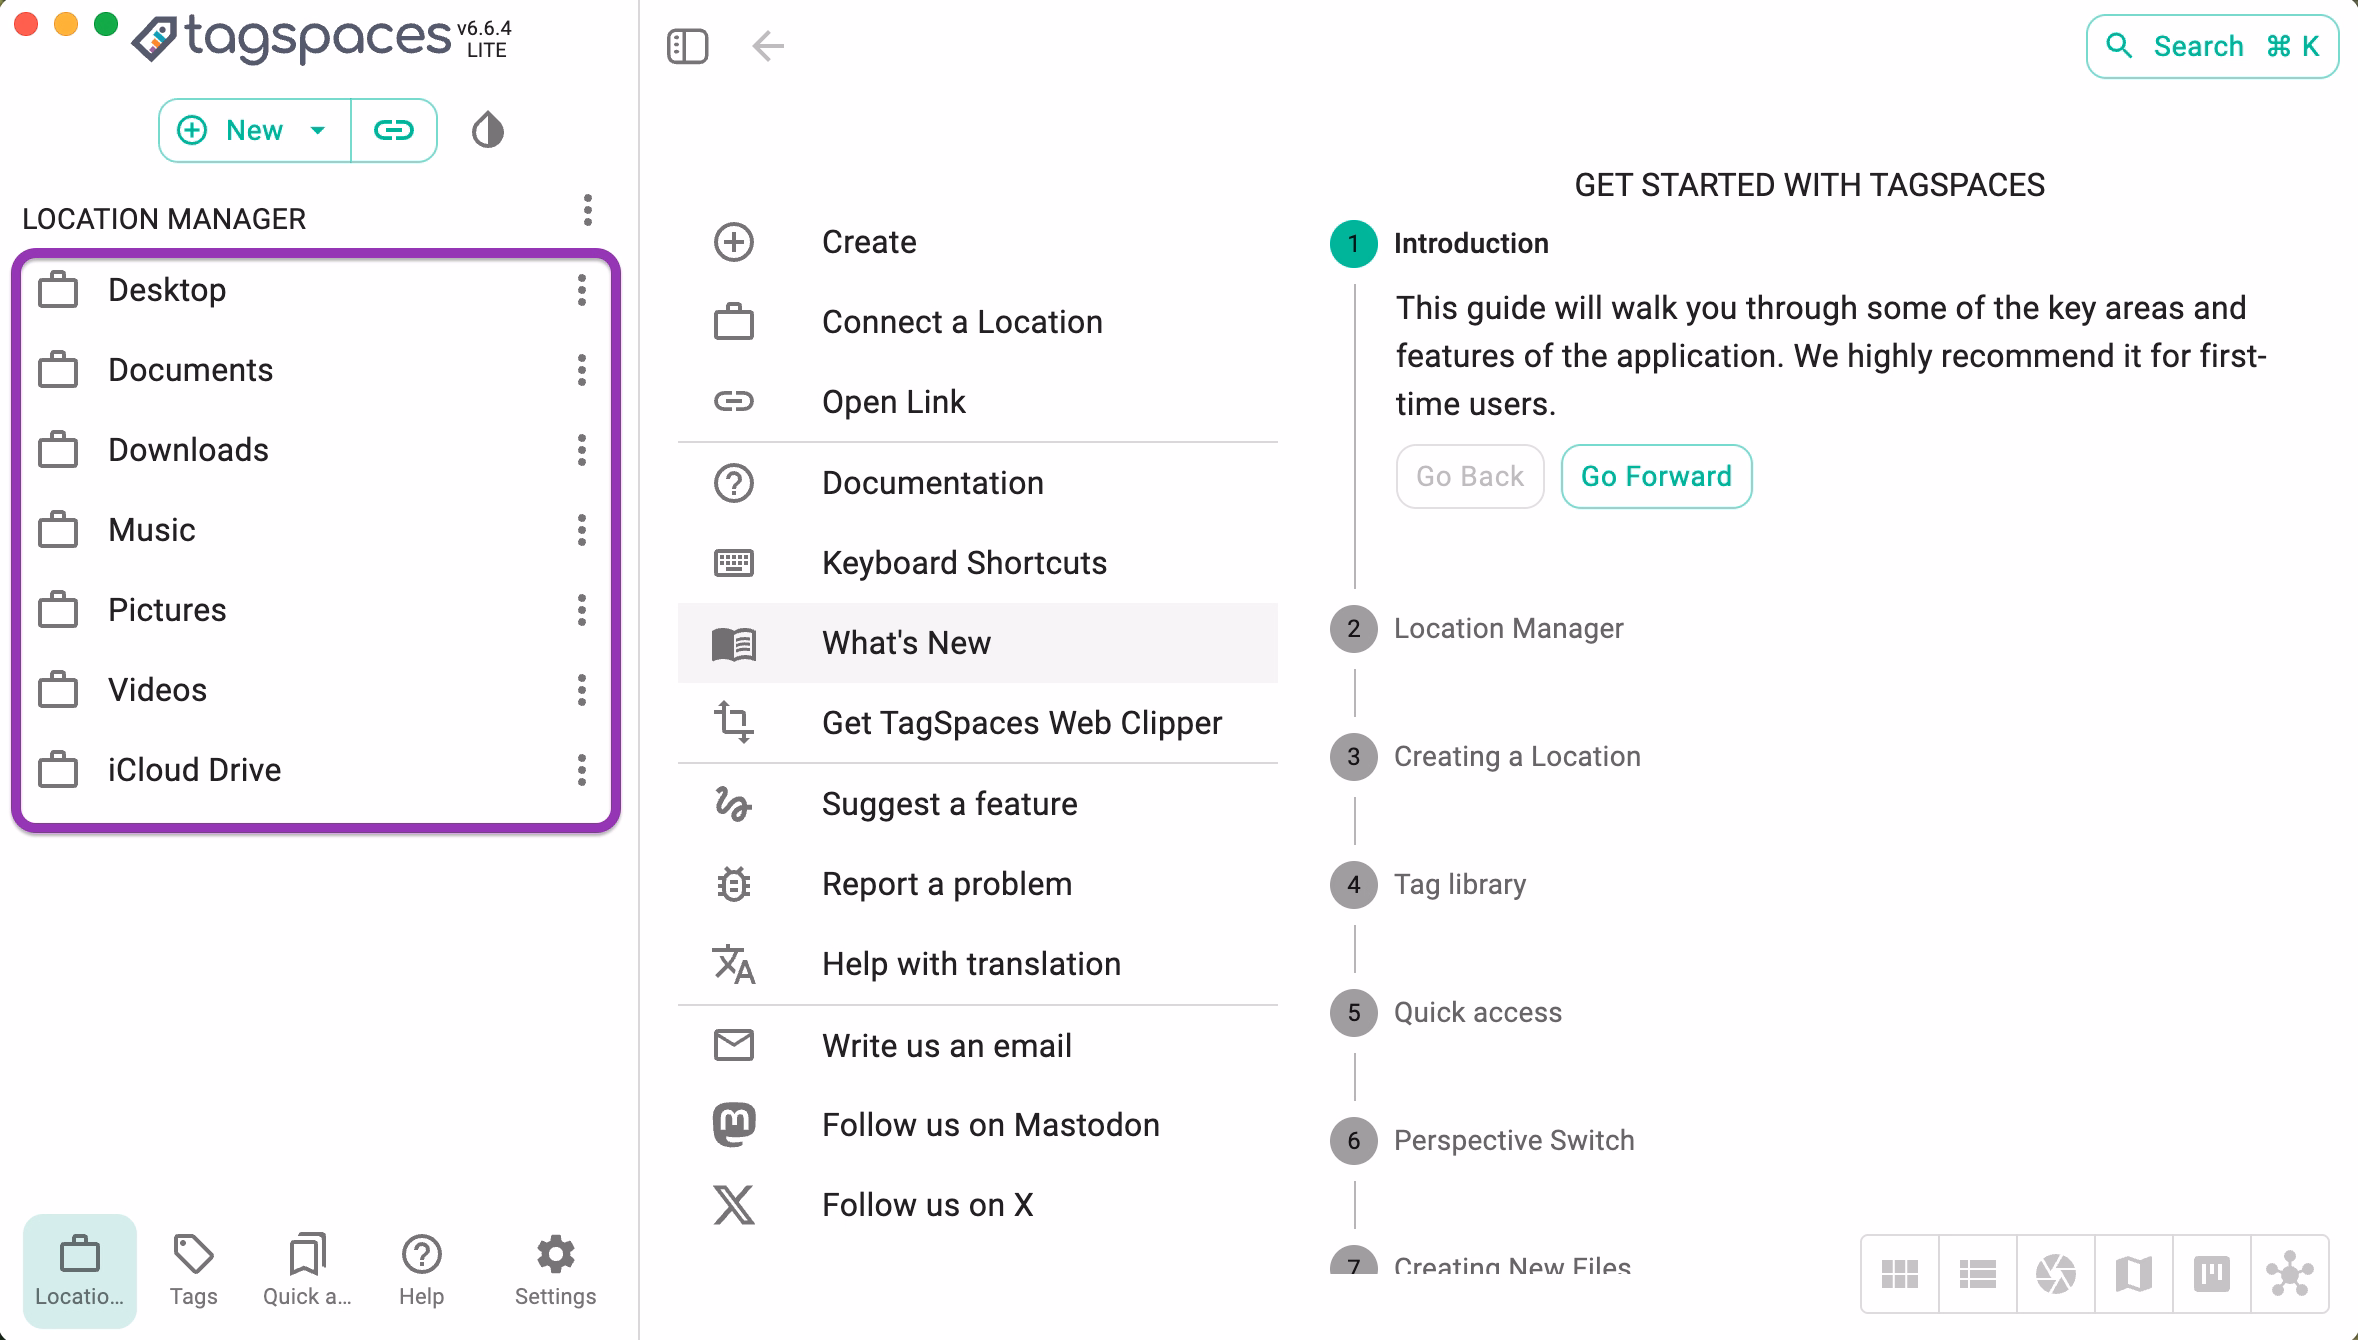
When you start TagSpaces, after you accept the software license, you’ll be greeted by the Welcome Screen.
From here, you can:
- Create or connect a location (a folder you want to manage with TagSpaces)
- Explore the intro tour to understand the interface
- Open existing folders on your computer or cloud storage
TagSpaces never uploads your data anywhere by default. All your files stay where they are — on your local drive. If your location is on object storage, then your files stay in this storage, unless your download them.
Understanding “Locations”
A location is simply a folder from your computer, an external drive, or an S3-compatible cloud bucket.
TagSpaces connect automatically some of your standard folders like the Downloads, Documents, Music and Desktop. The Locations are visible on the left area of the application window.
The standard locations are fully optional you can remove them or create new locations pointing to folders which contain files you want to manage in TagSpaces.
To create a new location:
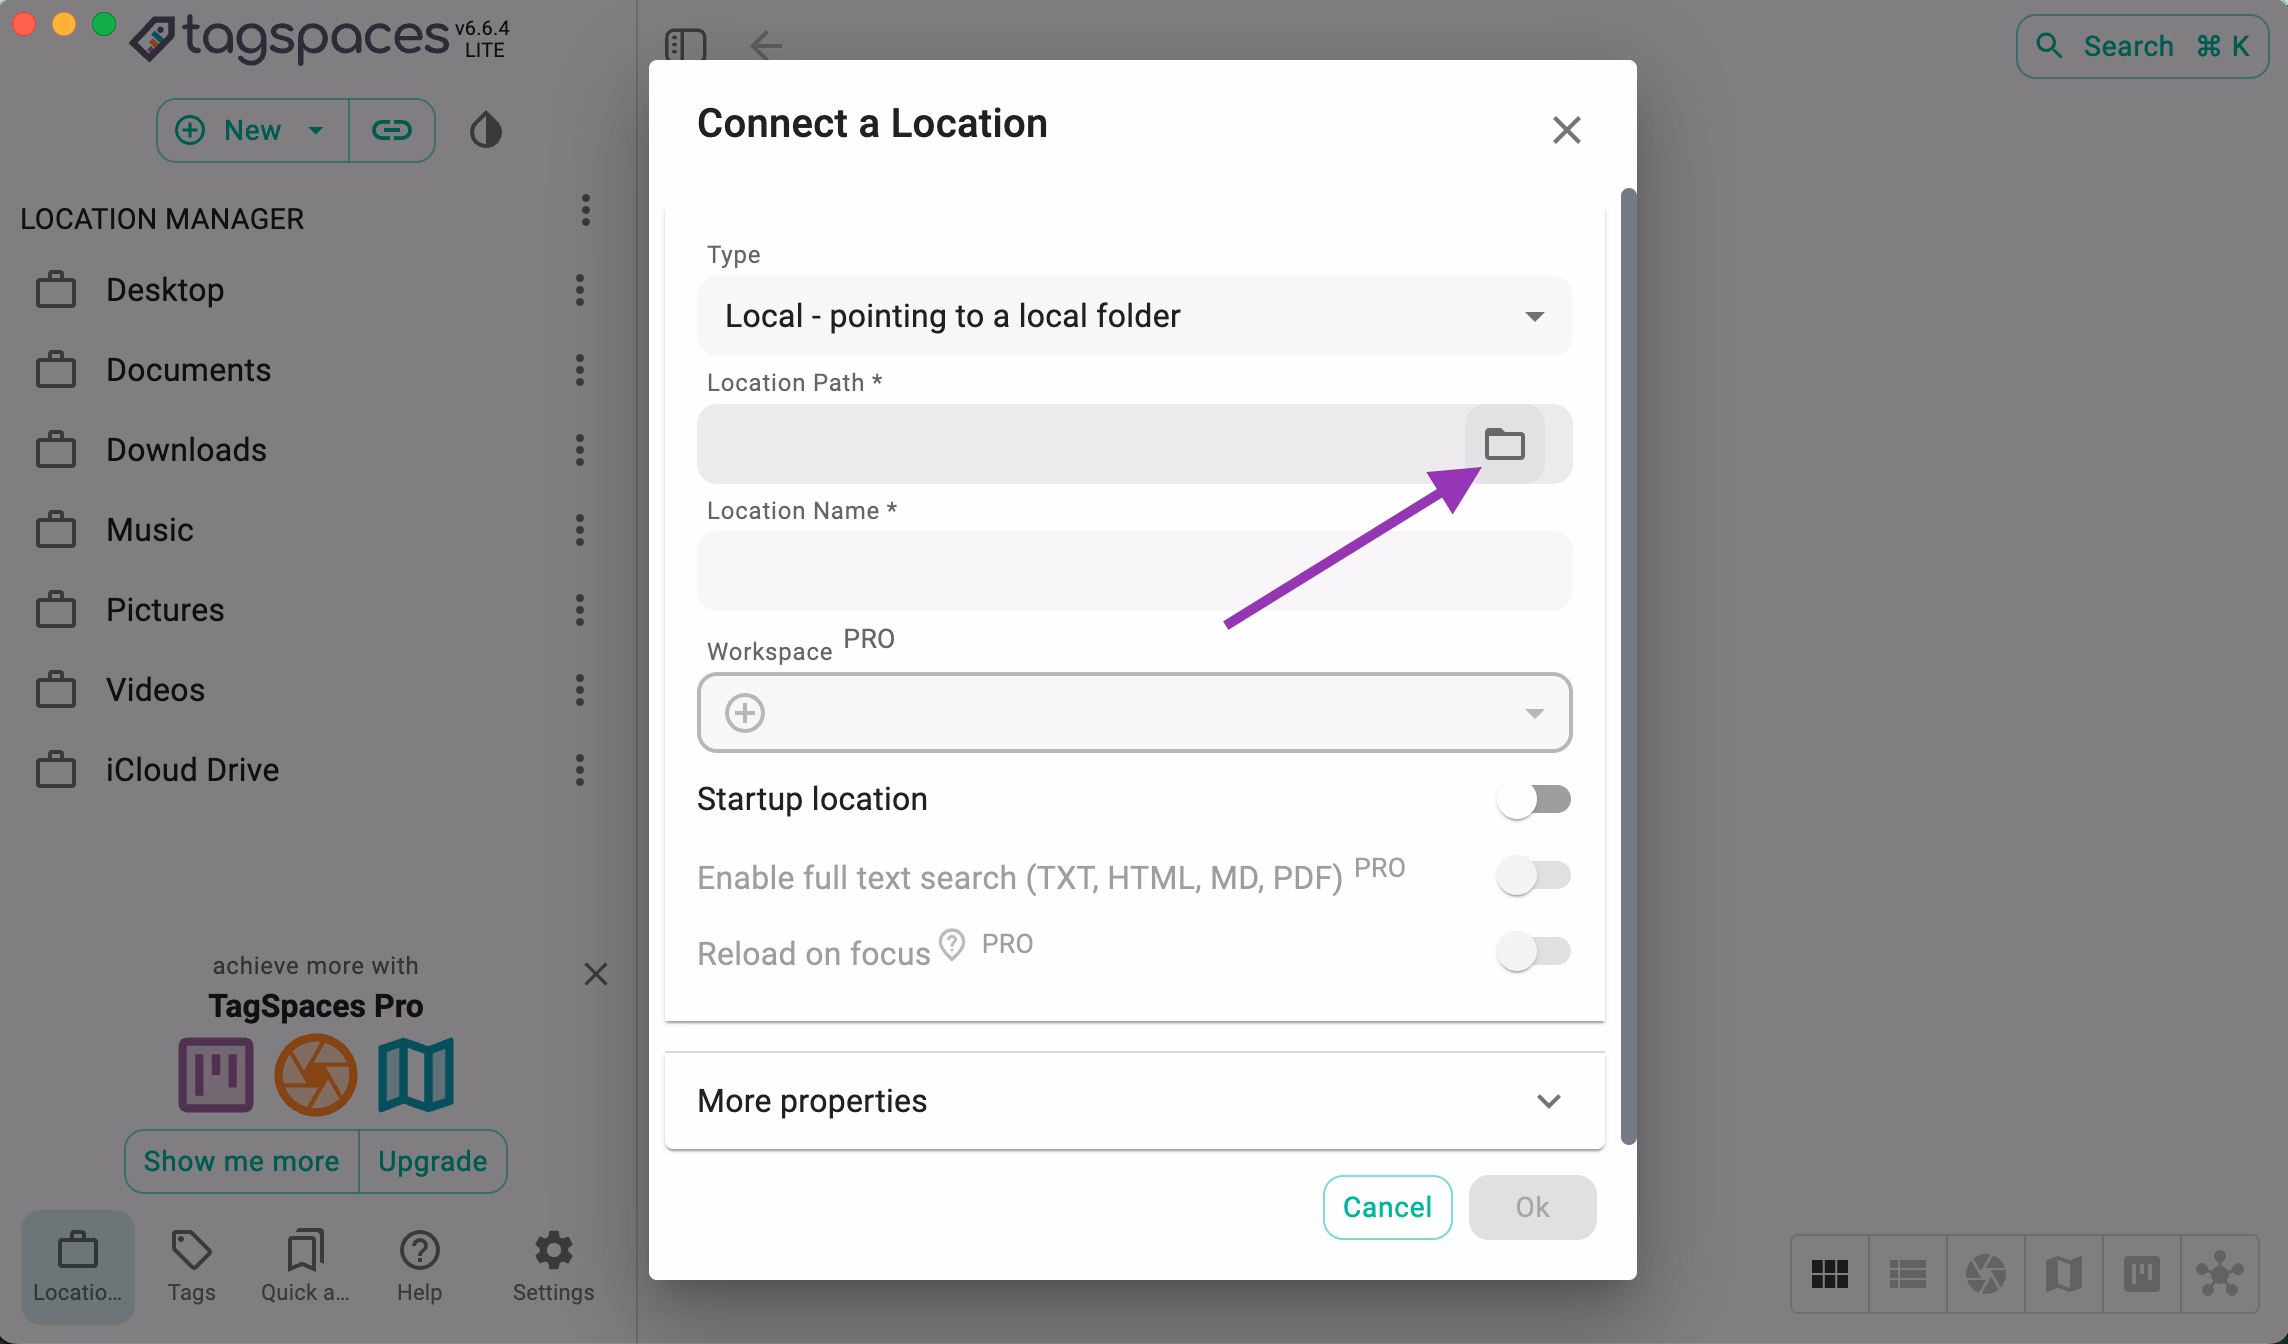
- Click the “New button” on the top left part of the main screen, and the choose New Location from the menu.

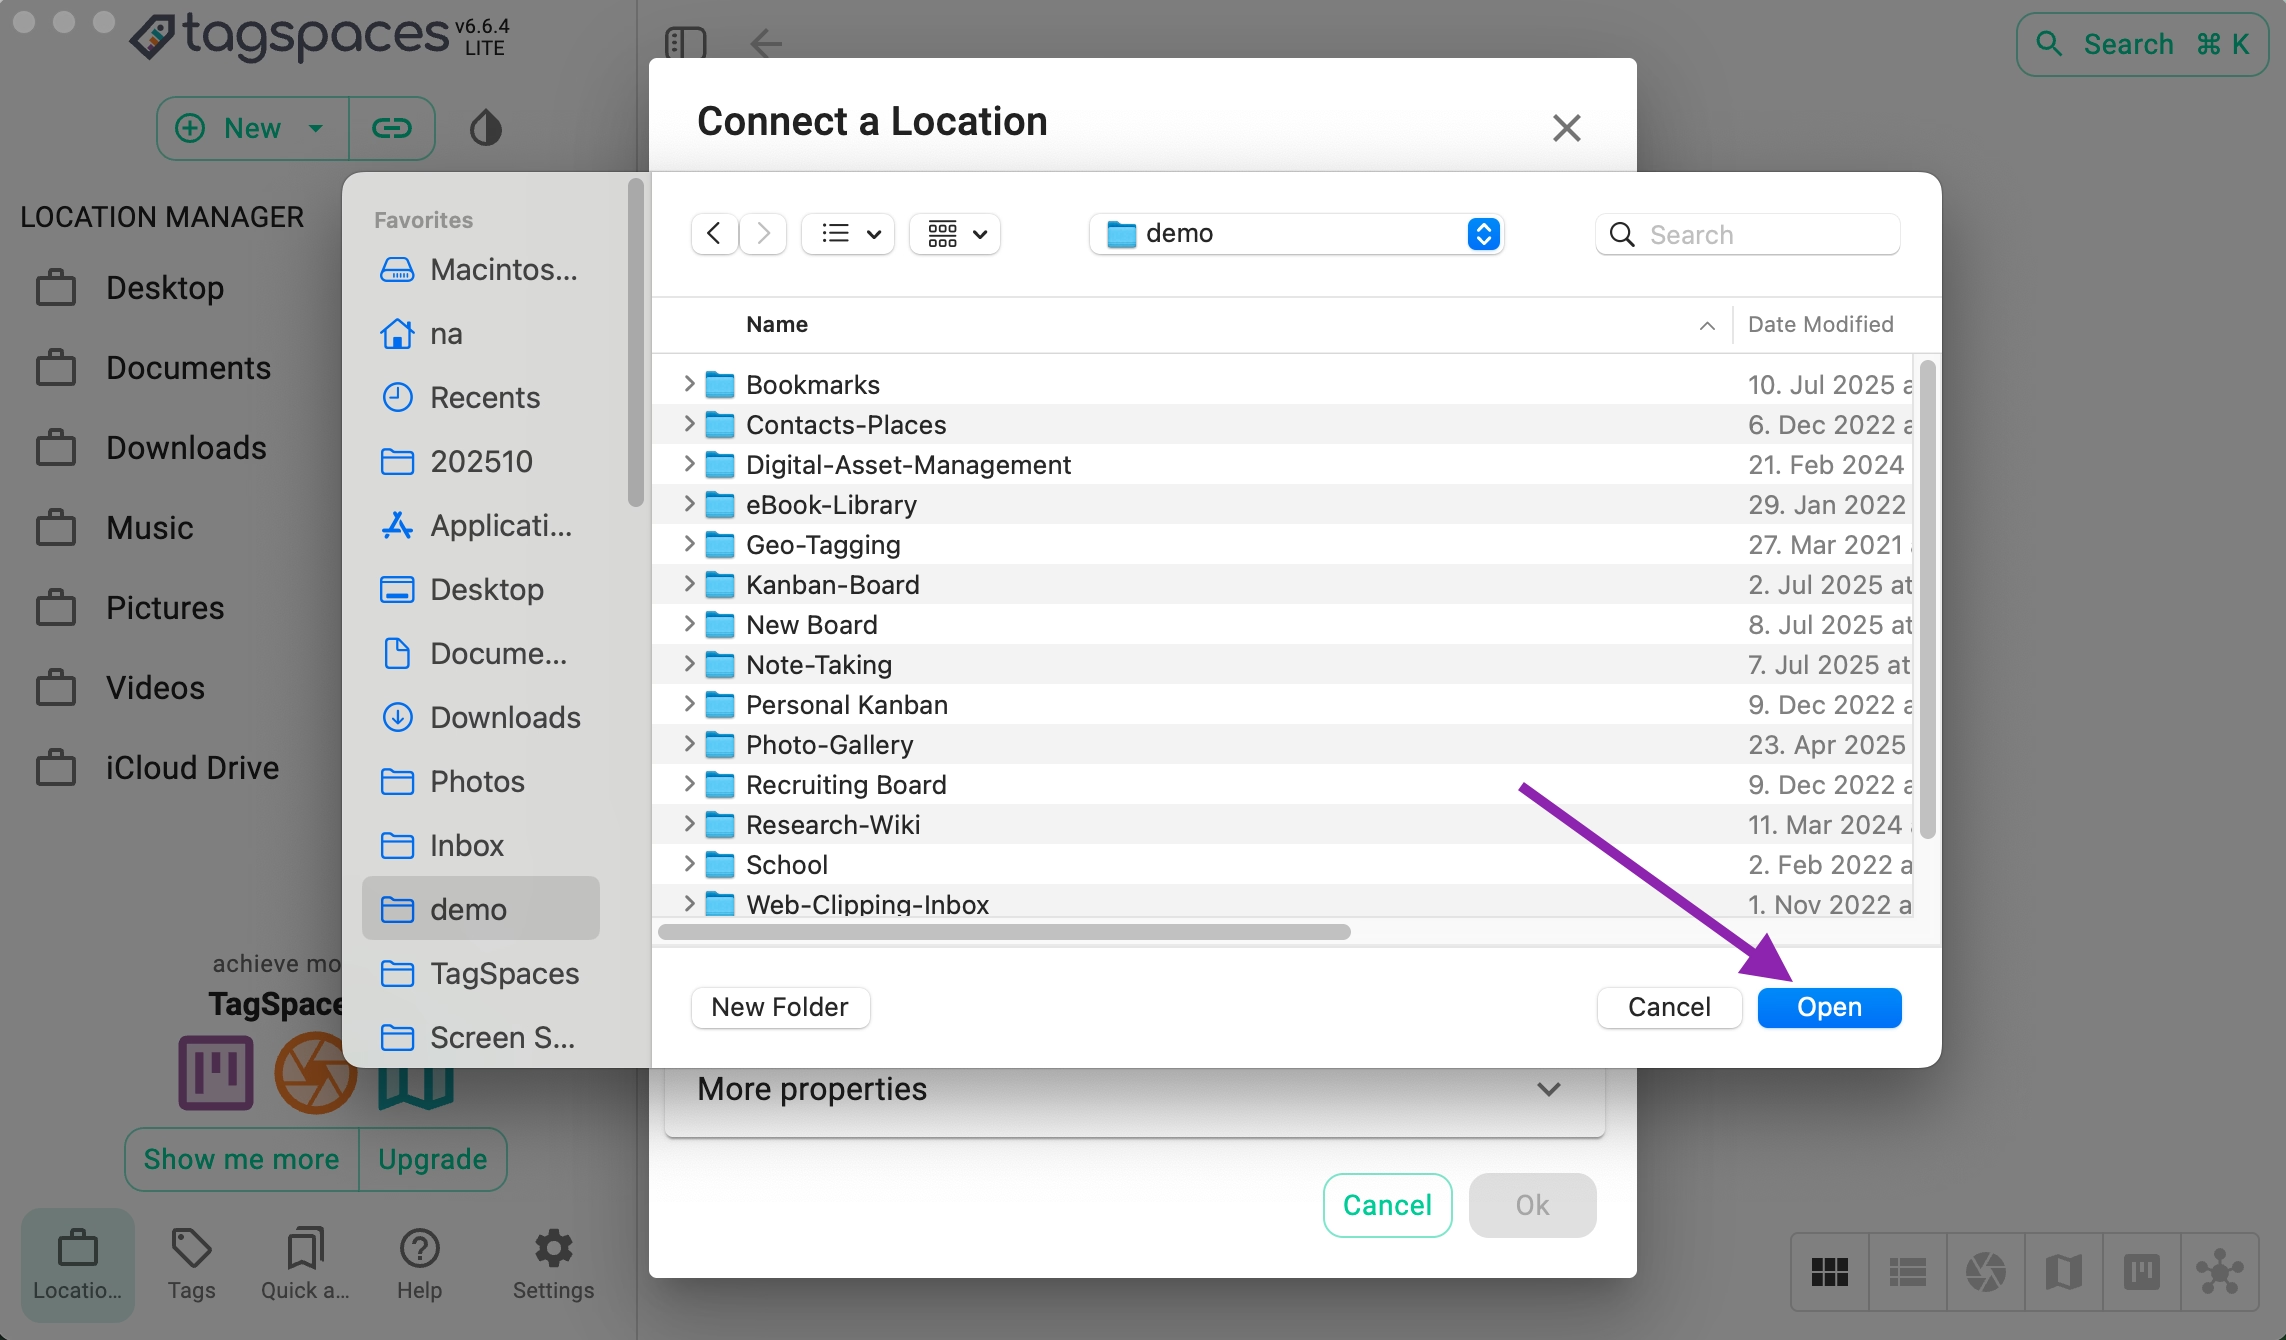
- Click the folder icon to to choose a folder from your file system, which will be the root of your location.
- Choosing the folder from your file system
- Give the location a recognizable name.
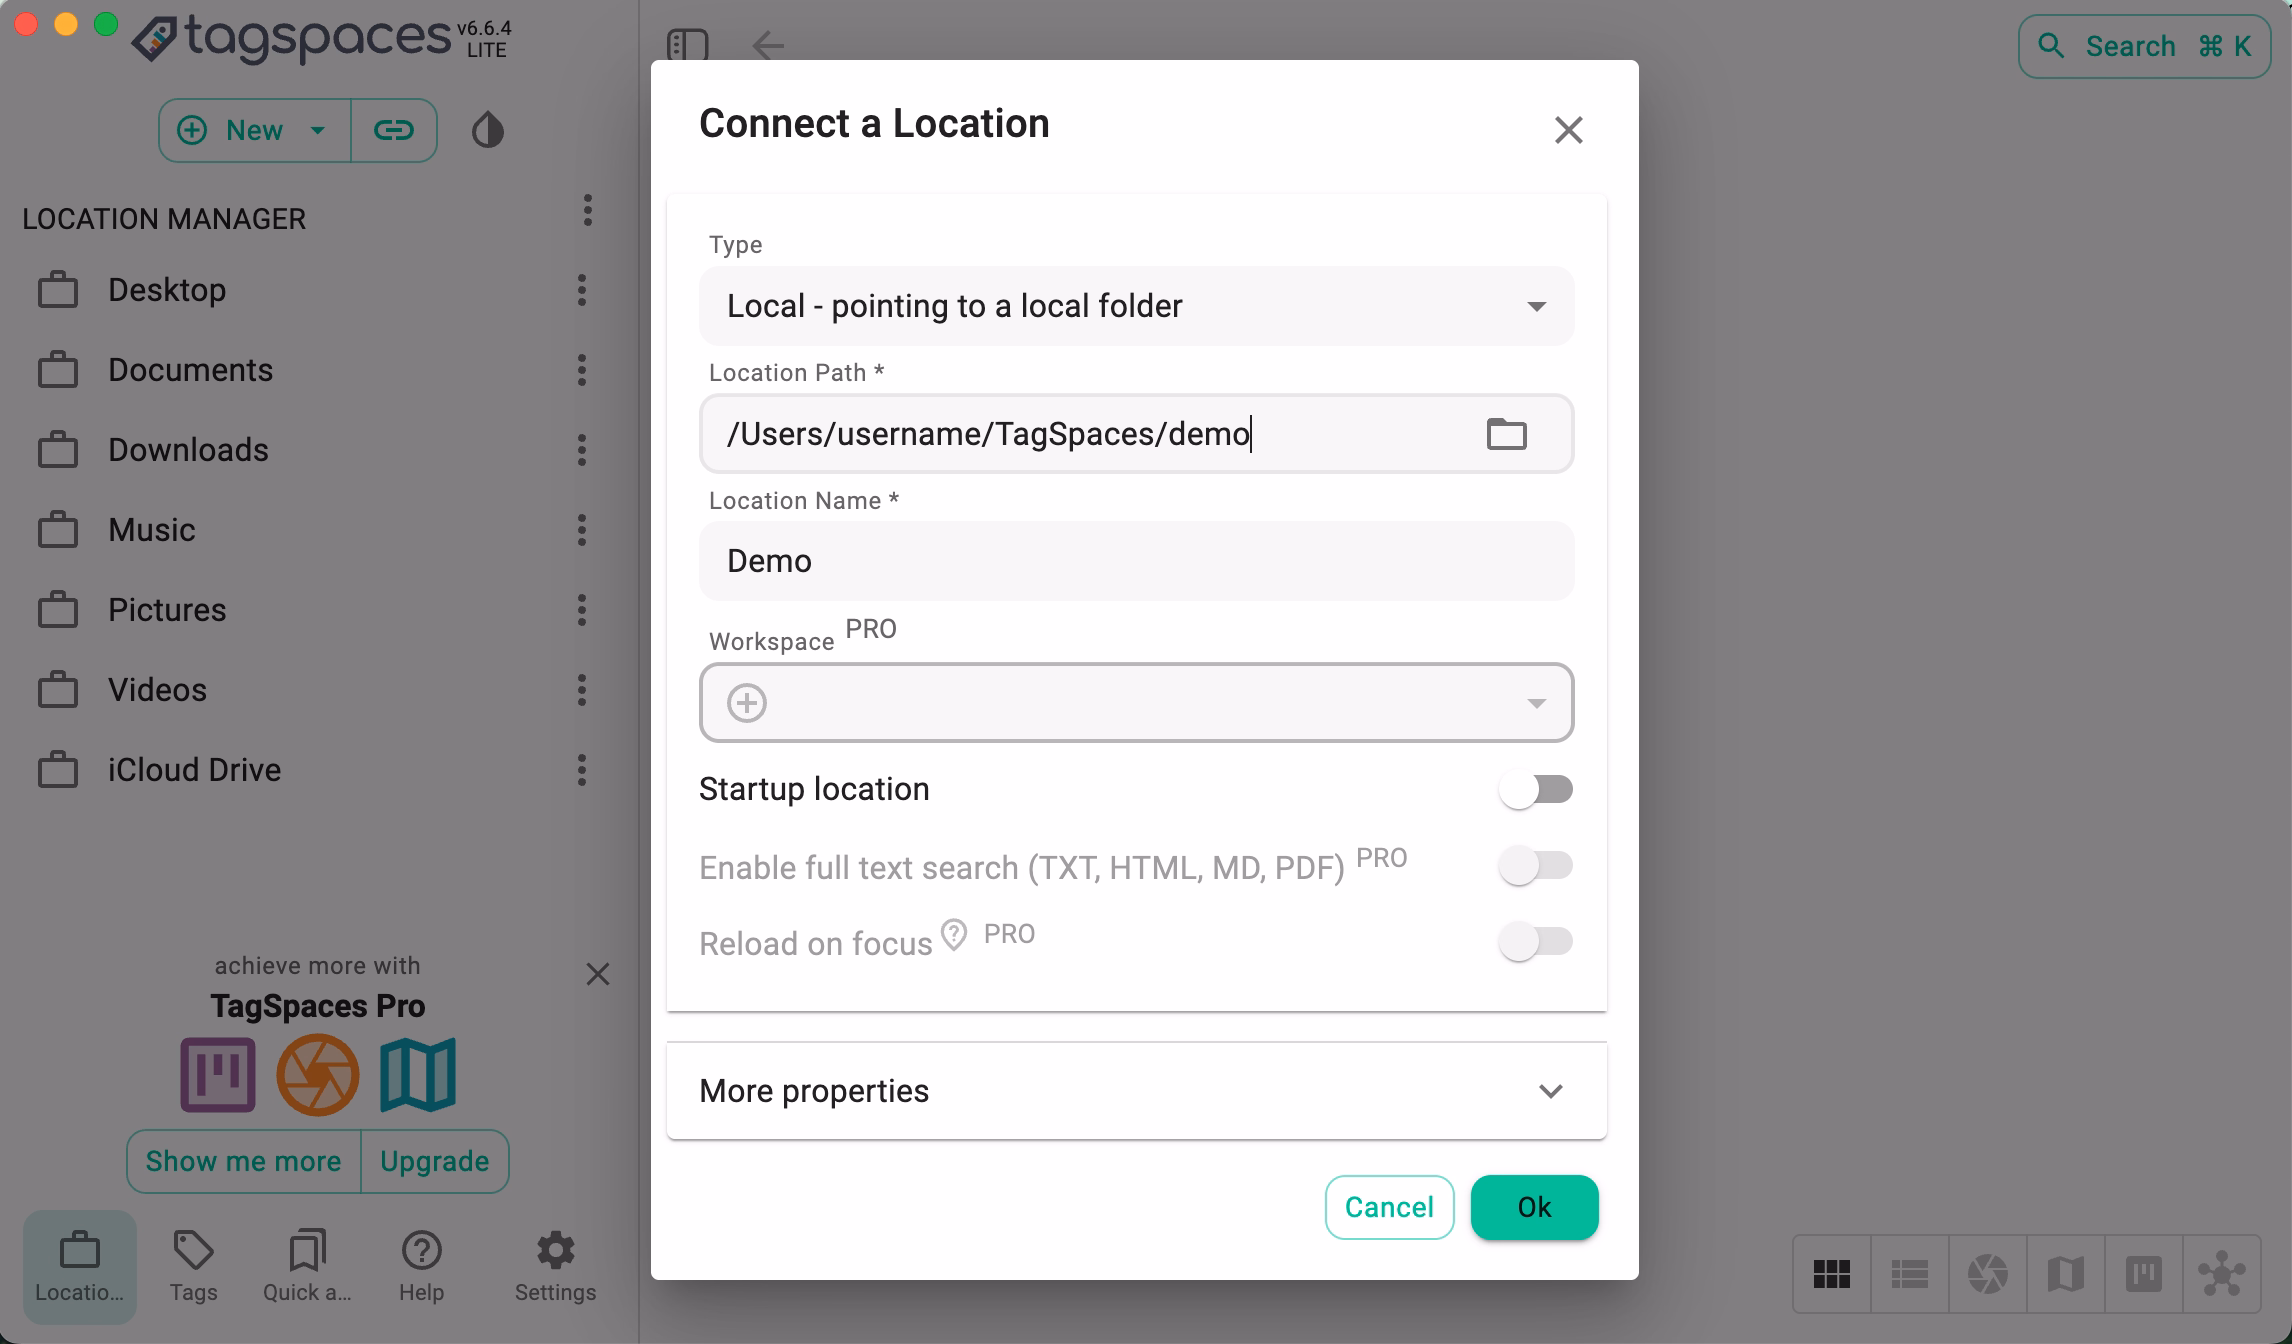
TagSpaces takes automatically the name of the chosen folder as name for the location. You can change this name to something else in this dialog.
- Now you can browse, tag, and organize all files inside that location directly within TagSpaces.
TagSpaces can connect to folders located on object storage. The object storage can be hosted on a NAS or in the Cloud like on AWS S3, Contabo Wasabi or Cloudflare R2.
Tagging Your Files and Folders
Tags are at the heart of TagSpaces. They help you organize and find files faster.
The following video how you can apply tags to files and folder:
- By adding tags from the tag library using drag and drop
- By dragging tags from one file and dropping them onto another
- By using the tagging dialog to add and remove tags
You can group tags by category in tag groups — for example:
🧾 Document Type, 🎨 Project, 🌍 Location, or 📅 Year.
⚙️ Tagging method: Choose between storing tags in filenames or in sidecar files (
.json).
Adjust this in Settings → Tagging Method.
Creating Notes and New Files
TagSpaces includes built-in editors for:
- Markdown (recommended for note-taking)
- Plain text
- HTML (for formatted documents)
- Audio (for dictation of audio notes)
To create a note:
- Click the “+ New” button.
- Select the type of file you want to create
- Change the desired template (optional step)
- Start typing
Your note is saved as a regular file in the current folder.
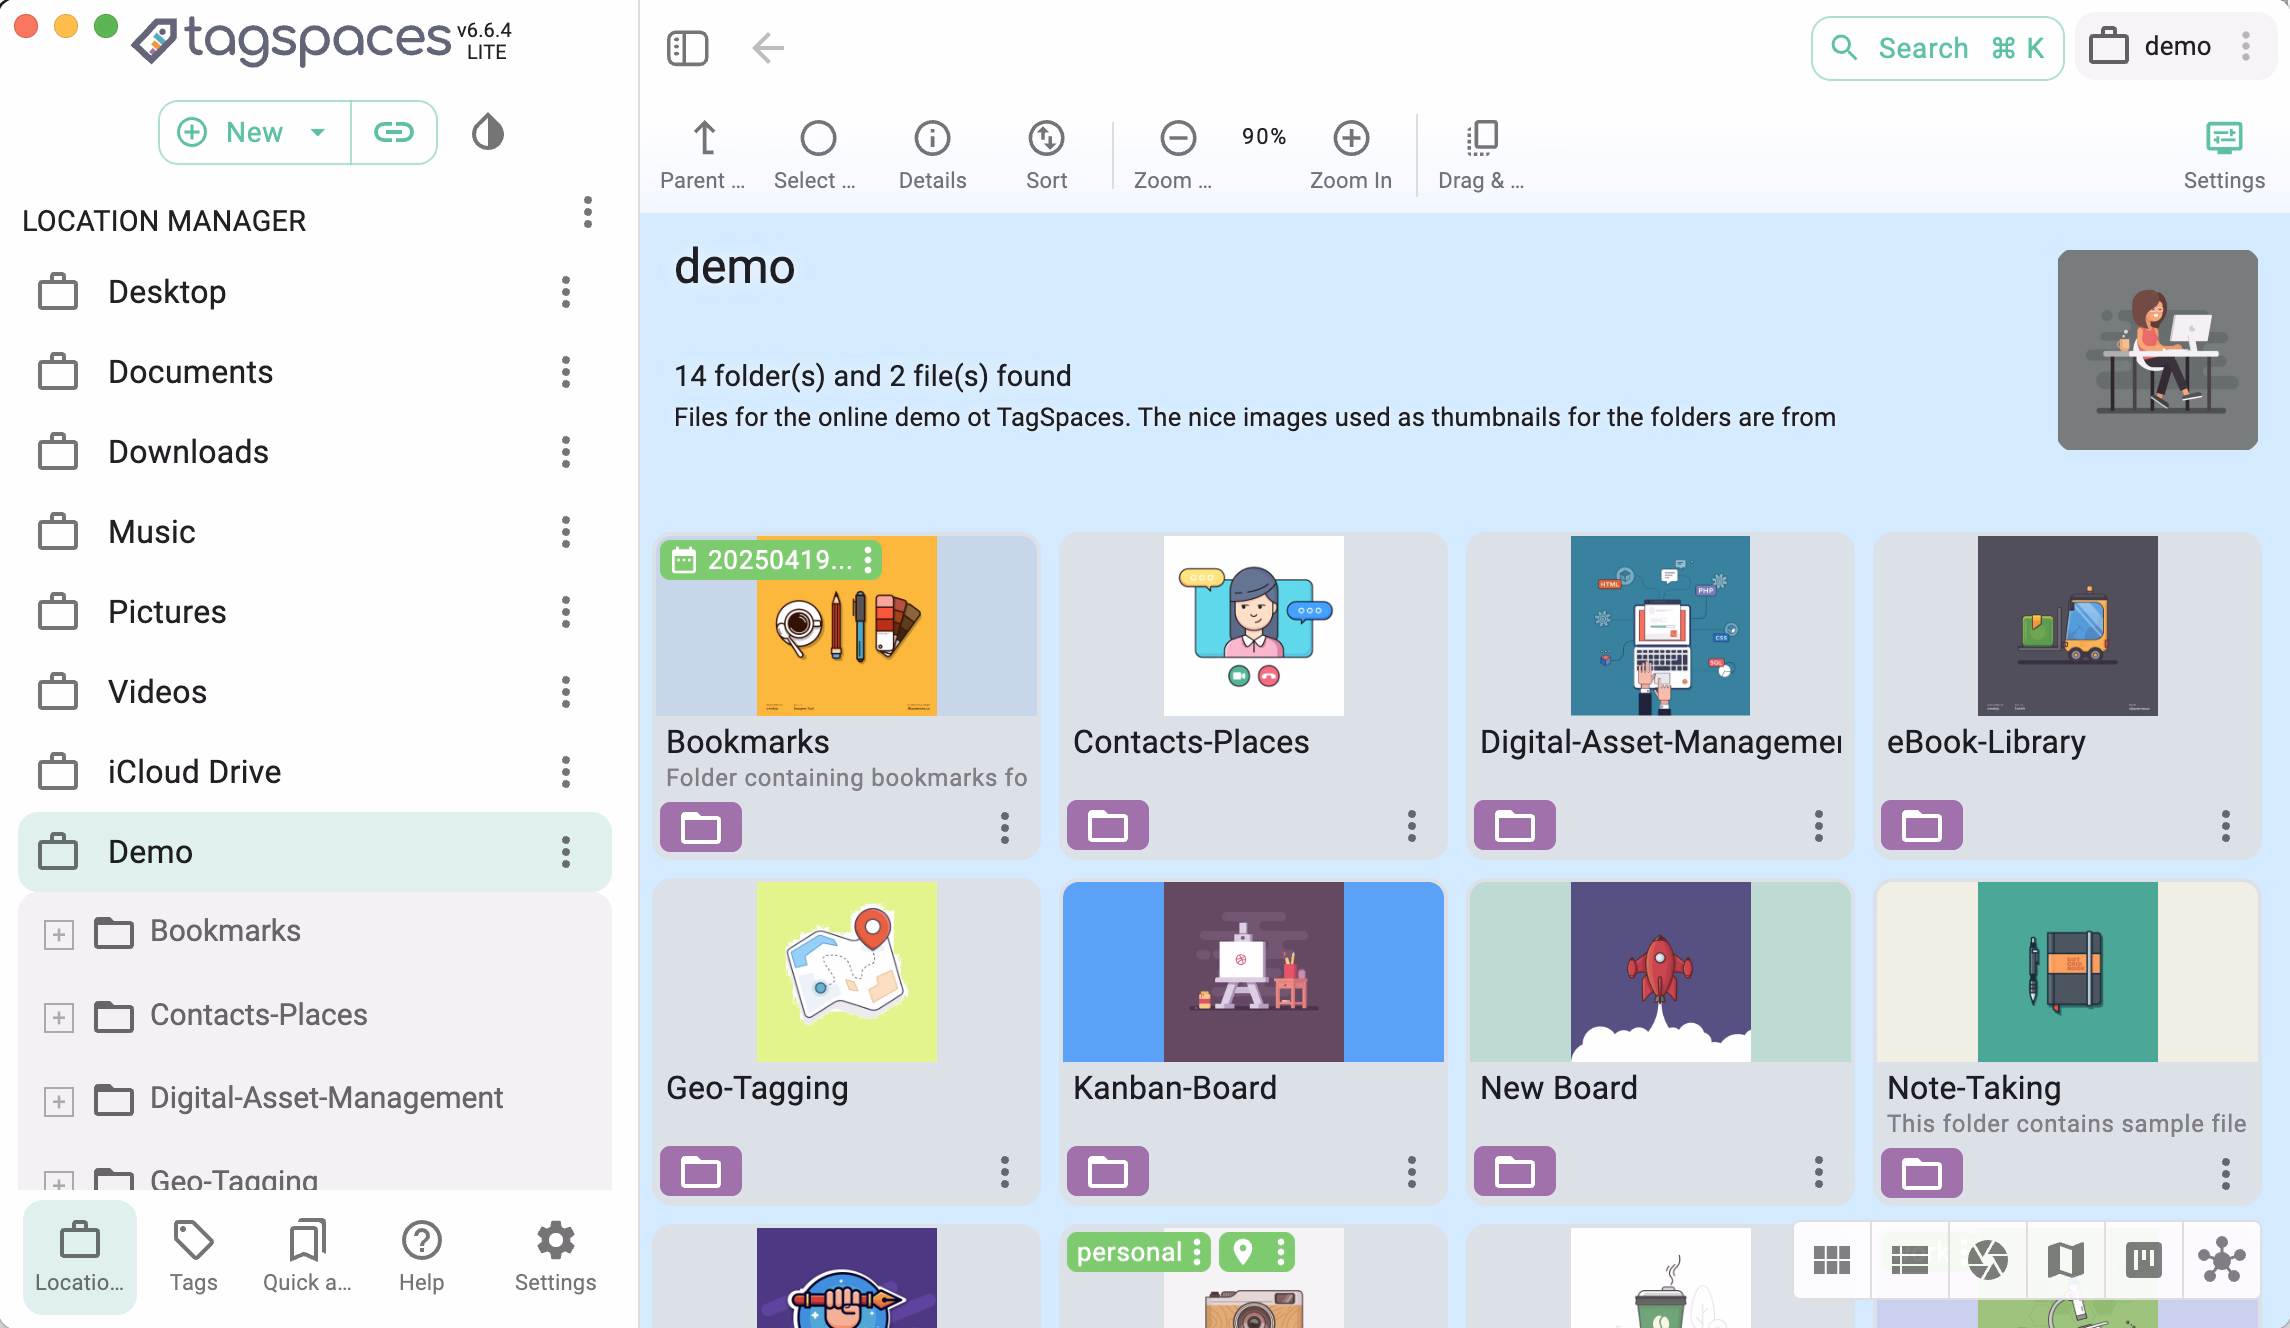
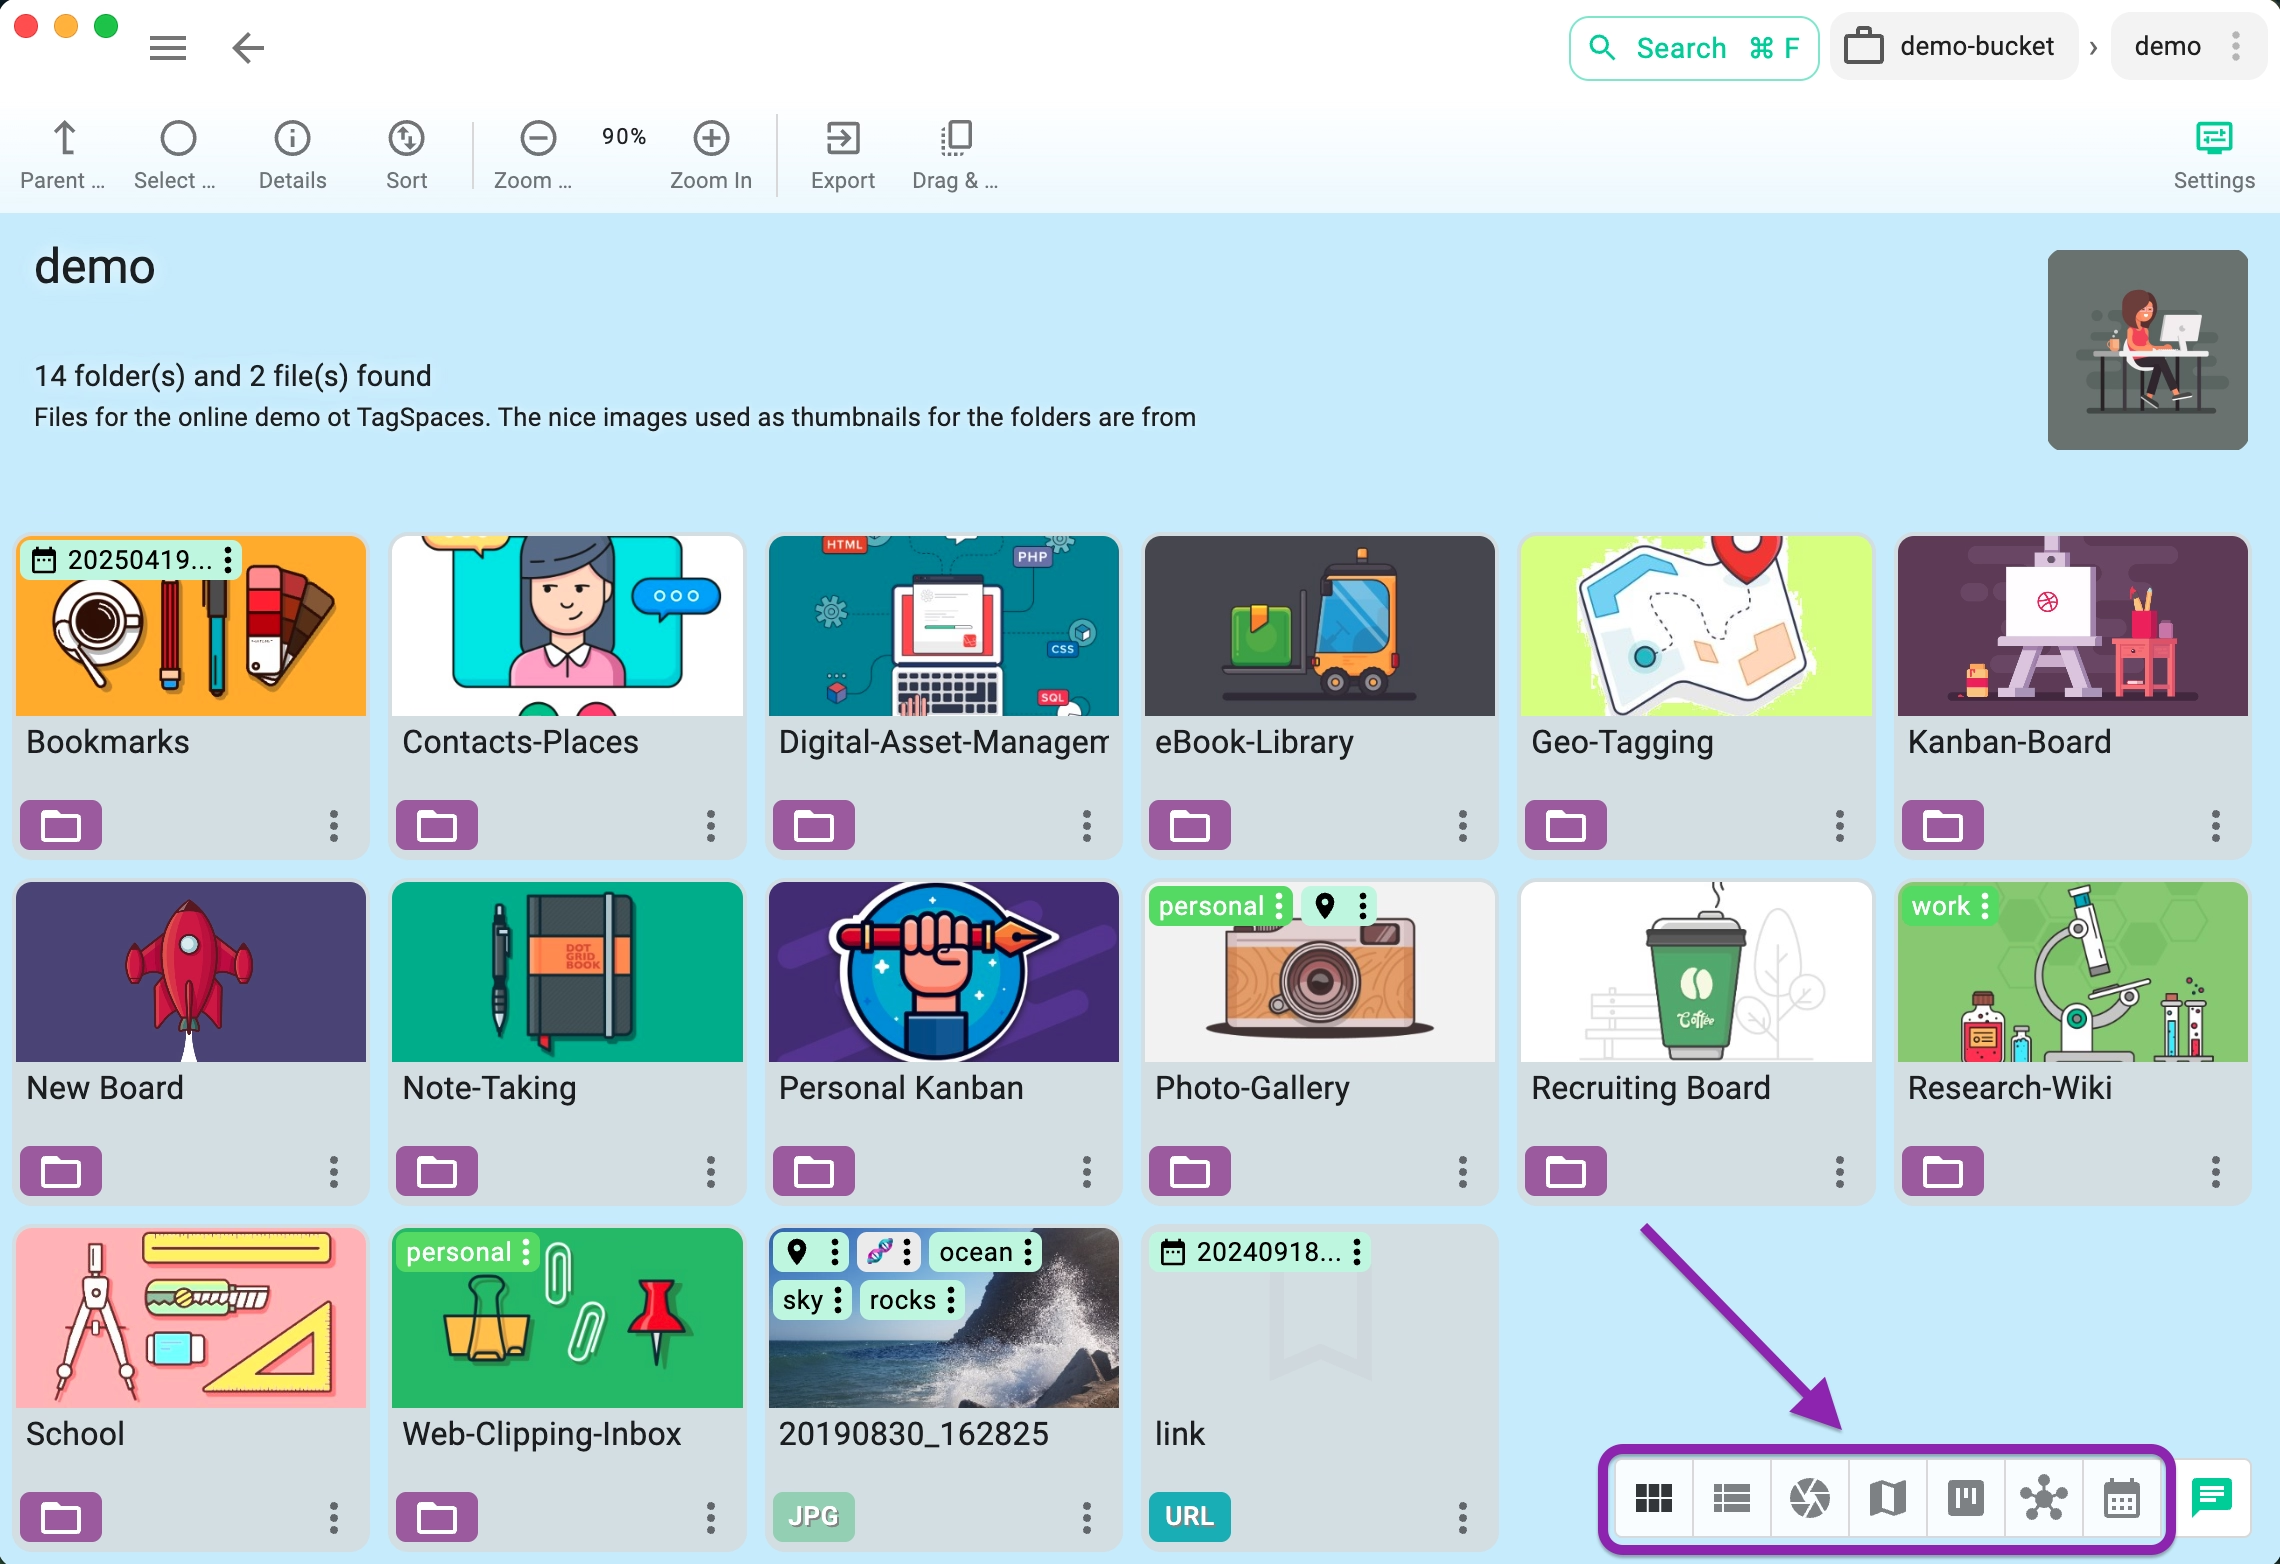
Exploring Perspectives
Perspectives define how your files are displayed:
| Perspective | Description |
|---|---|
| 🗂️ Grid | Visual tile layout |
| 📋 List | Table-like view with sorting |
| 🖼️ Gallery PRO | Ideal for image collections |
| 🗺️ Mapique PRO | Display geo-tagged files on a map |
| 📊 FolderViz PRO | Visualize folder structures and tag connections |
| ✅ Kanban PRO | Manage tasks as cards in a board |
Switch perspectives using the Perspective Switcher in the toolbar.
Syncing Files Across Devices
TagSpaces works with any file synchronization service:
- Dropbox
- Google Drive
- Nextcloud
- Syncthing
- S3-compatible storage
Connect the same folder as a location on multiple devices to keep tags and notes synced.
Customization and Themes
Personalize your workspace:
- Light and dark modes
- Adjustable language and default perspectives
- Custom folder background colors
- Tag color customization
Next Steps
Now that you’ve created your first location:
- Add and tag files
- Write your first Markdown note
- Try switching perspectives
- Install the TagSpaces Web Clipper to save content from the web
🚀 Pro Tip: Upgrade to TagSpaces Pro for advanced perspectives, geo-tagging, and automation with local AI integrations.